


Clutch Line Removal and Aftermarket Clutch Line Installation
Like the brake lines, the clutch line should be replaced every 4 years or 30,000. An aftermarket line can be used to replace the OEM lines. Stainless steel lines are more rigid than the rubber OEM lines and they are said to help maintain high brake pressure, decrease brake fade and improve braking performance. A stainless steel clutch line is also lighter weight than the OEM clutch line. The OEM clutch line has a portion that is made of metal tubing. Stainless steel lines are all hose.
As with any procedures involving brake fluid, it’s best to wash the surrounding areas often in case any hidden spatters of fluid land on painted or plastic surfaces. I immediately washed any areas of the bike that were or might have been spattered with clutch fluid all through the procedure. Avoid getting water in the clutch hydraulic system, however.
Tools:
bucket
wash rag
towels
plastic bag
torque wrench
10mm socket
12mm socket
drip pan
14mm socket
14mm open end wrench
self adhesive backed 1/4” insulation foam (opt.)
self adhesive cable tie anchor
heavy duty double sided tape
4” zip tie
Remove OEM Clutch Line
1. Remove the ram air covers, the fuel tank cover, the left side fairing and left lower fairing (see FAIRING REMOVAL).
Locate the OEM clutch line on the left side of the bike. 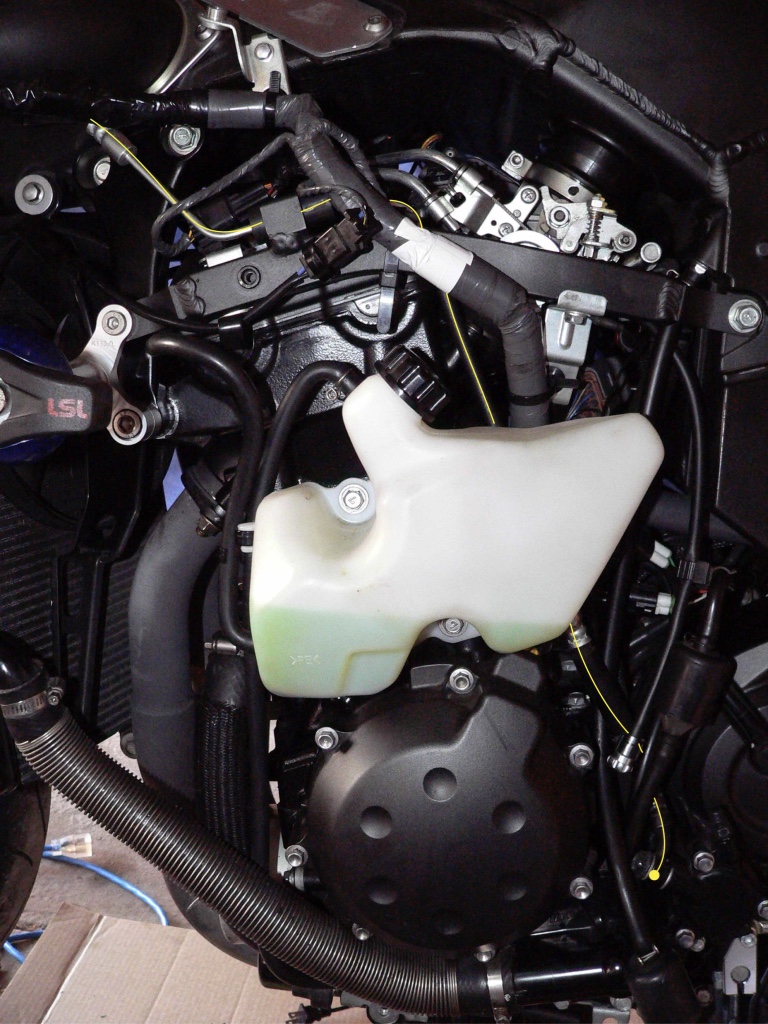
The path of the OEM clutch line is marked by the yellow line.
2. Have a bucket with clean water and a wash rag ready to wash down painted parts that may get fluid from the clutch line on them.
3. Lay a towel all around the clutch fluid reservoir and under it to protect the multifunction meter and gauges and other surrounding plastic parts. Place a plastic bag with a towel in it below the clutch lever so that any fluid which might come out of the clutch master cylinder will be safely trapped in the bag.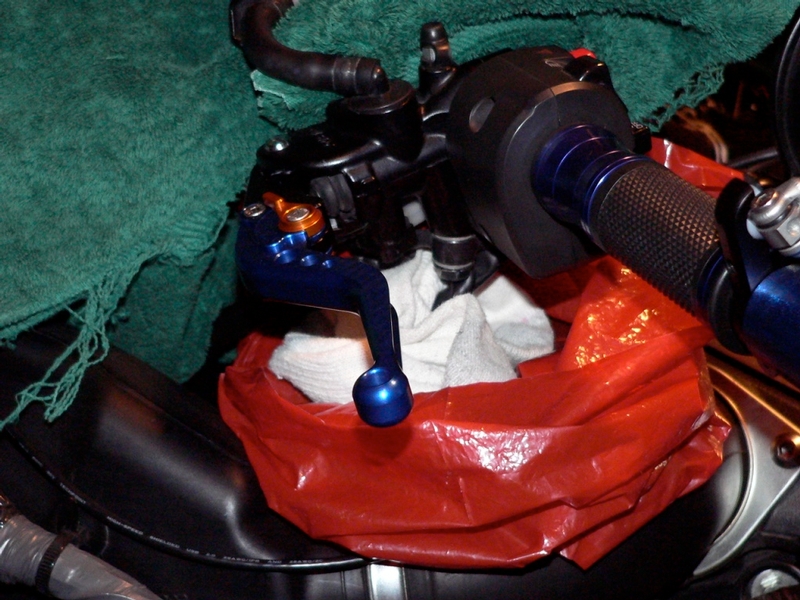
Purge all fluid from the clutch hydraulic system. It’s not necessary to drain one cylinder at a time. You can open the reservoir and purge the whole system from the bleed valve on the clutch slave cylinder (Brake and Clutch Fluid Bleed and Purge, 44 through 46 and steps 55 through 60).
4. Use a 10mm socket to remove the two screws that fasten the clutch line retainer to the left side of the steering neck. 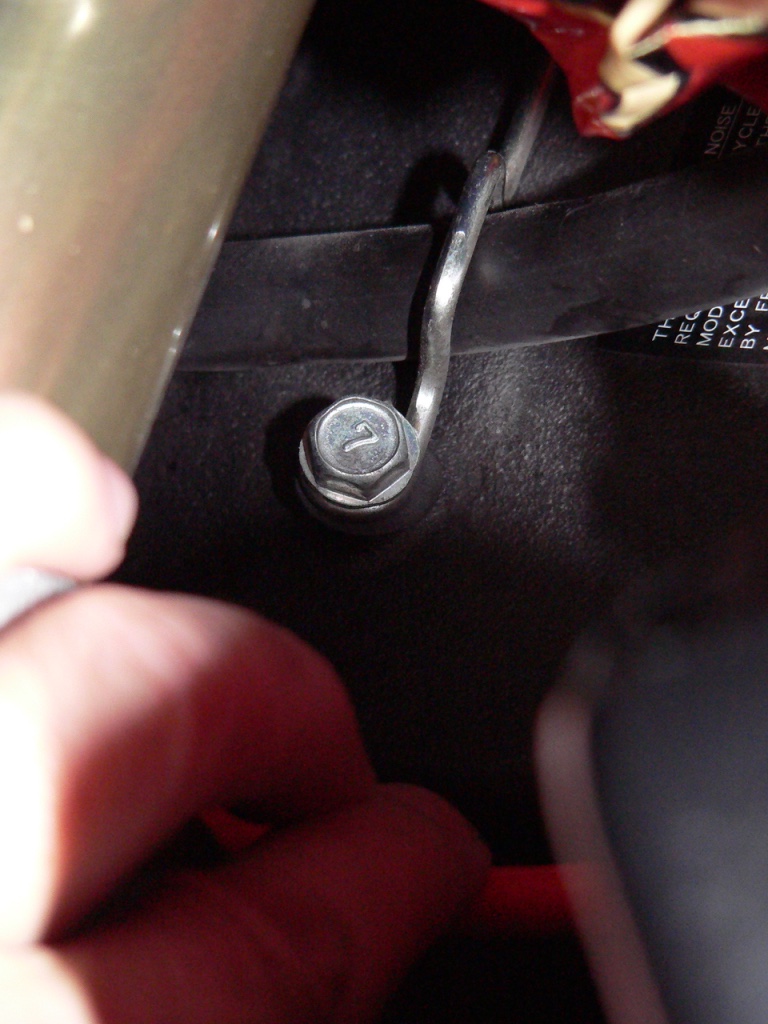
5. Remove the clutch line retainer and main wiring harness retainers (see [F], [E] and [C] (see steps 3, 5 and 6 of LEFT SIDE SUBFRAME MEMBER REMOVAL).
6. Remove the idle speed screw retainer from the lower end of the clutch line (see Throttle bodies Removal, step 1).
7. Use a 12mm socket to remove the banjo bolt and the two gaskets from the clutch master cylinder.
8. Place a drip pan on the floor under the clutch slave cylinder. Use a 12mm socket to remover the banjo bolt and two gaskets from the clutch slave cylinder.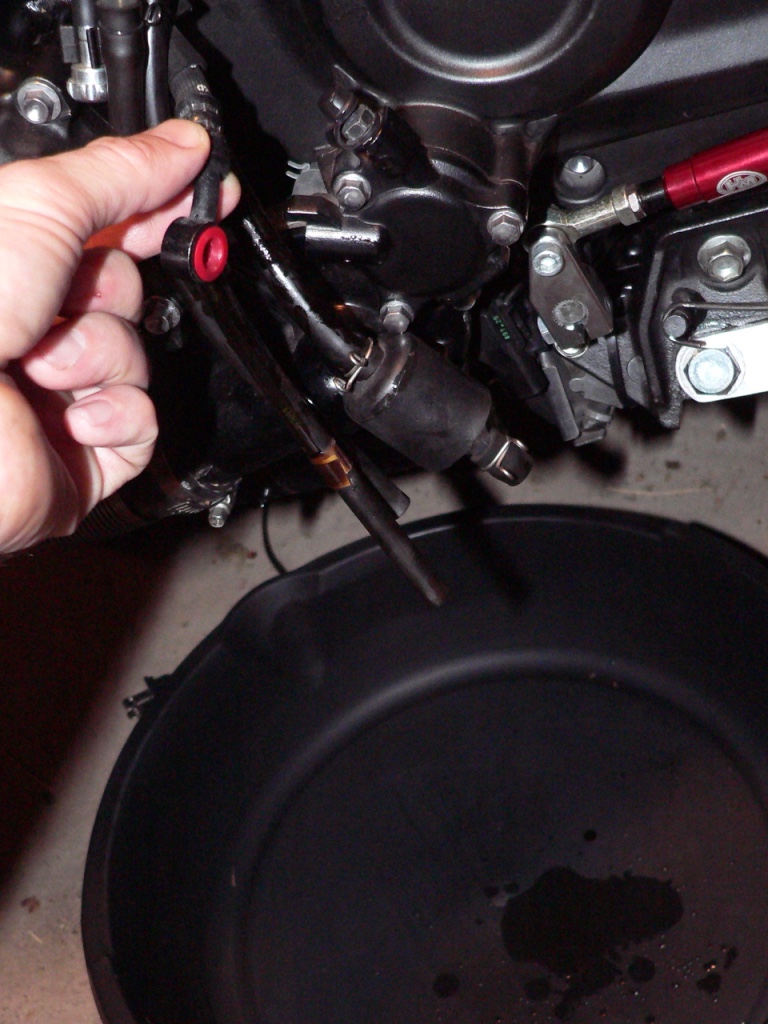
9. Pull the master cylinder banjo fitting to the back of the left ram air tube. Hold the banjo fitting high so that any remaining fluid cannot escape.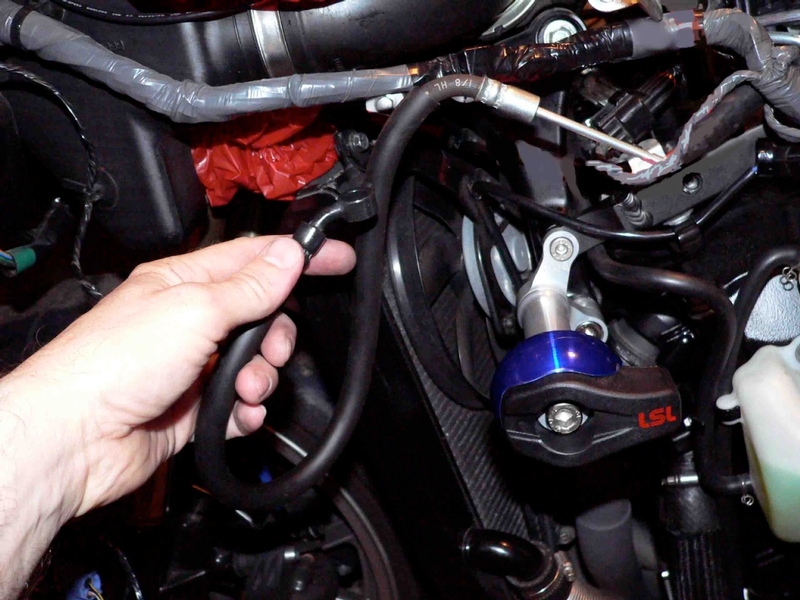
10. Pull the upper portion of the rubber hose and the metal tube part of the clutch line up. Twist it so that the tube fits smoothly past the left side subframe member. Remove the entire clutch line.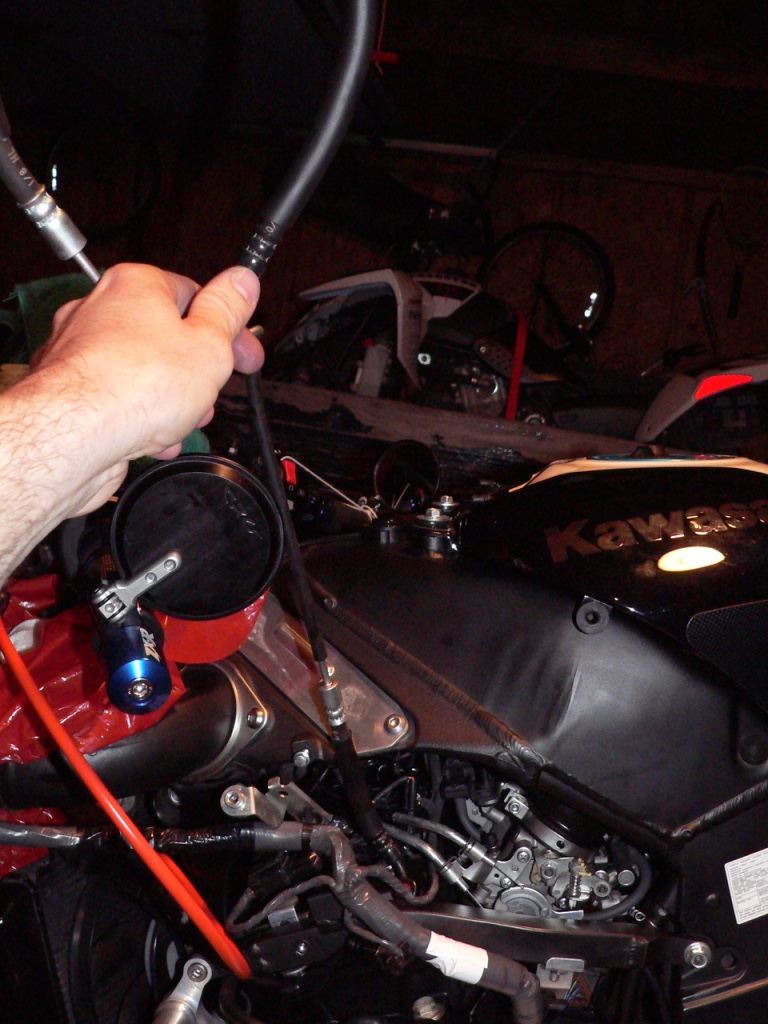
Install Aftermarket Clutch Line
11. Assemble the new banjo bolt and new gaskets to the ring coupling at either of the aftermarket line as shown in the photo below.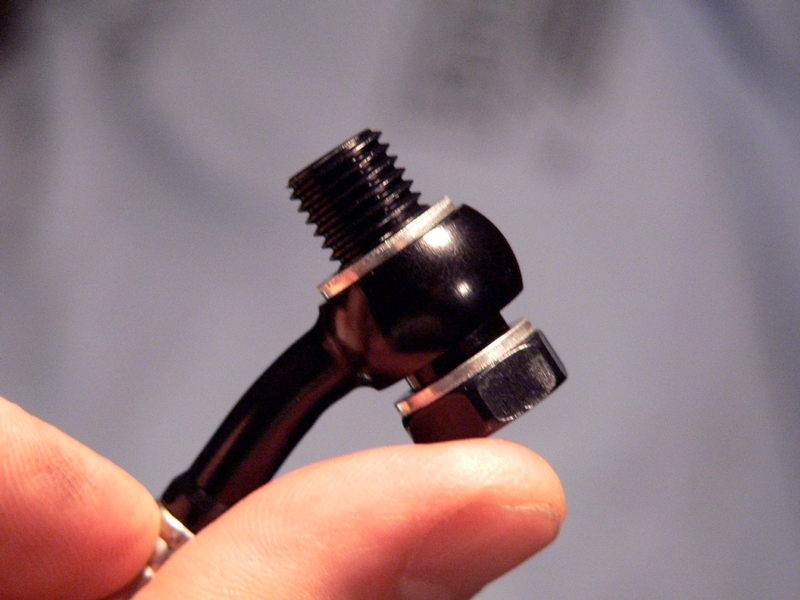
12. Use a 14mm socket to snug the banjo bolt into the clutch master cylinder.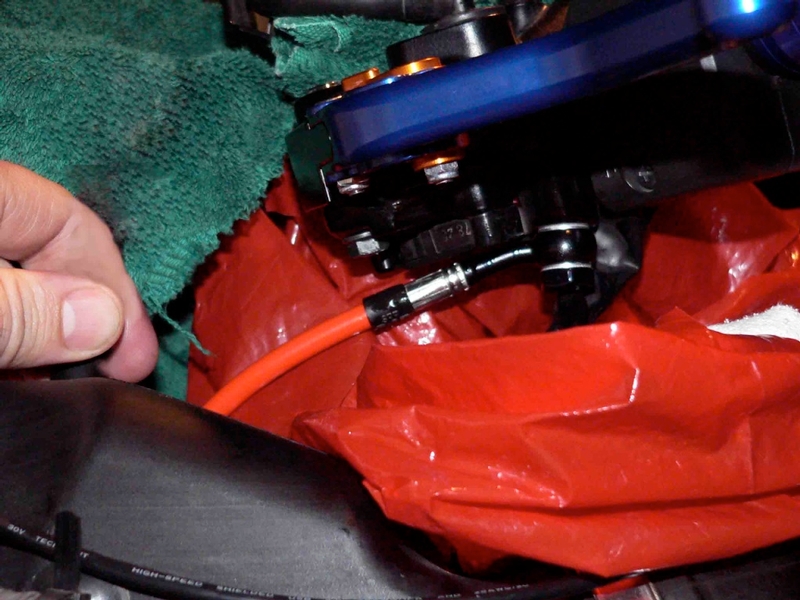
13. Route the aftermarket clutch line between the forks and under the left ram air tube. Route the line along a similar path as the main wiring harness but keep the line inside of the LH side subframe member. The end of the aftermarket line should reach the clutch slave cylinder.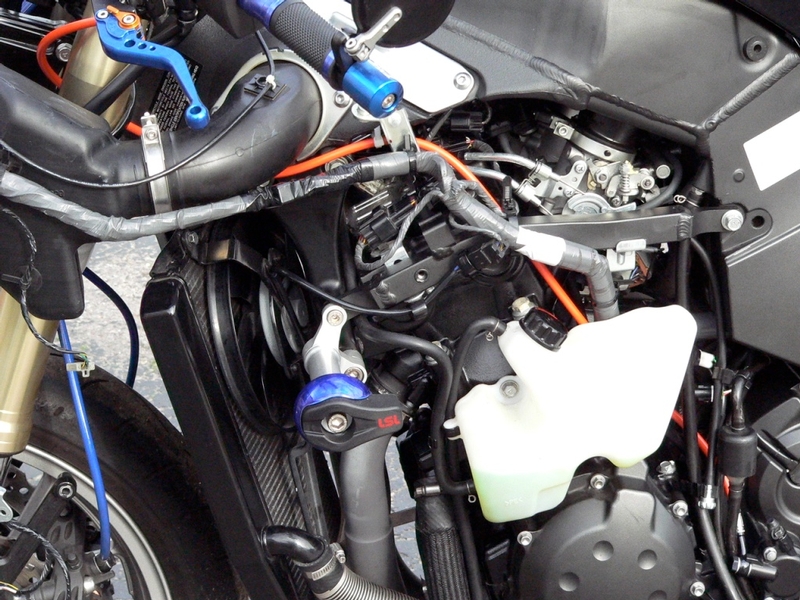
14. Spiegler Lines come with a plastic dowel and ring coupling collet grip. These are used to turn the coupling in the collet so that the coupling is perfectly aligned to its mounting position. The ring couplings may be installed without twisting the line.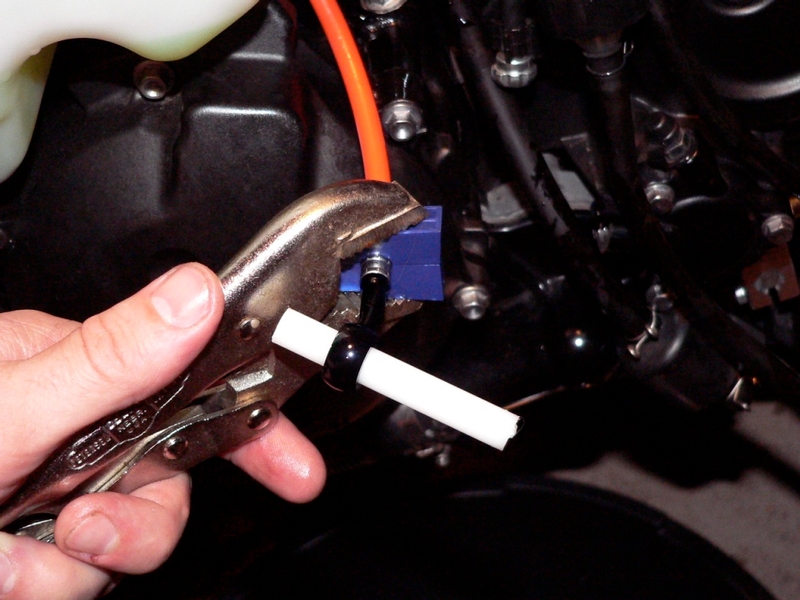
Adjusting the angle of the ring couplings will enable the line to be routed smoothly between cylinders. I’ve heard that ring couplings from other manufacturers can be adjusted in a similar fashion by using a wood dowel and pliers on a collet wrapped with masking tape or other protective covering.
15. Use a 14mm open end wrench to snug the banjo bolt into the clutch slave cylinder.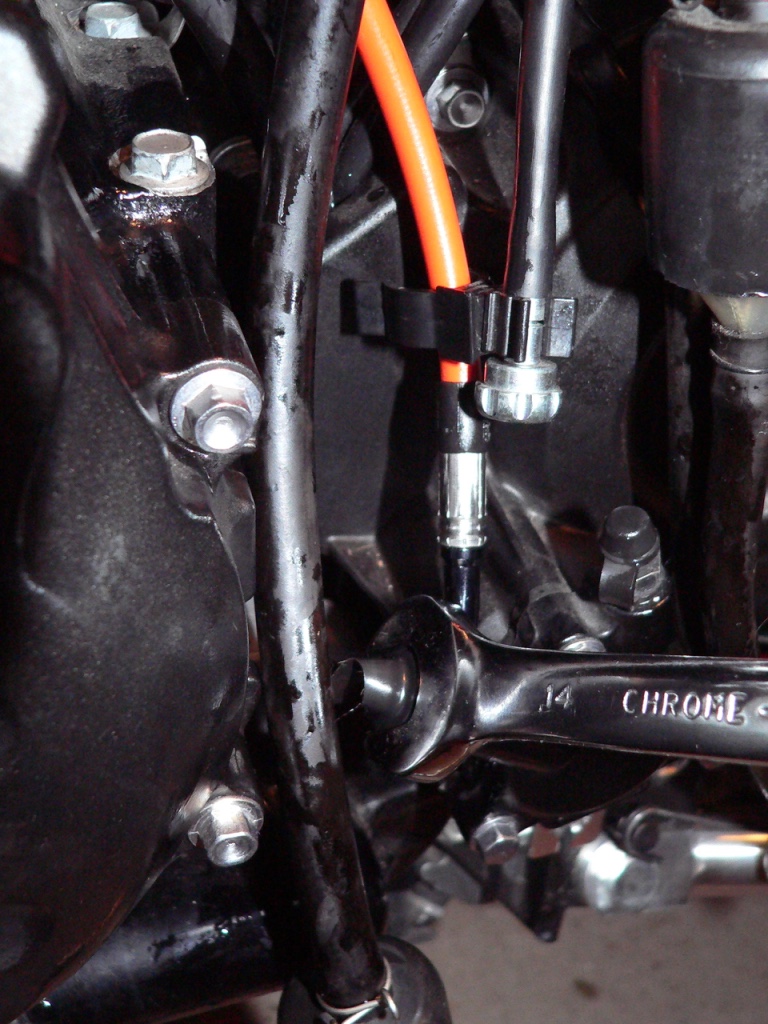
16. Reinstall the plastic wire retainers removed in step 6 of this tutorial. I used the lower retainer to lightly secure the clutch line along with the wire to the stick coil subharness.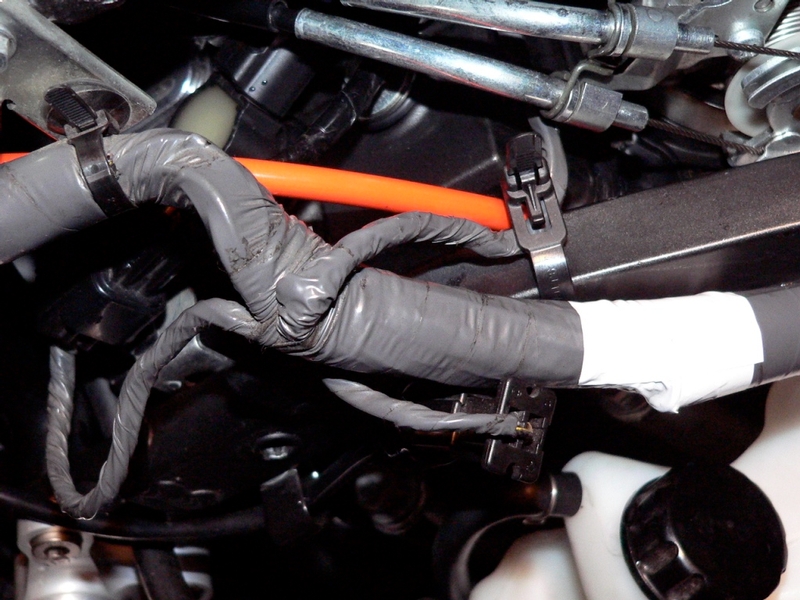
17. Use a 10mm socket to reinstall the retainer to the steering pivot holding the aftermarket clutch line in place.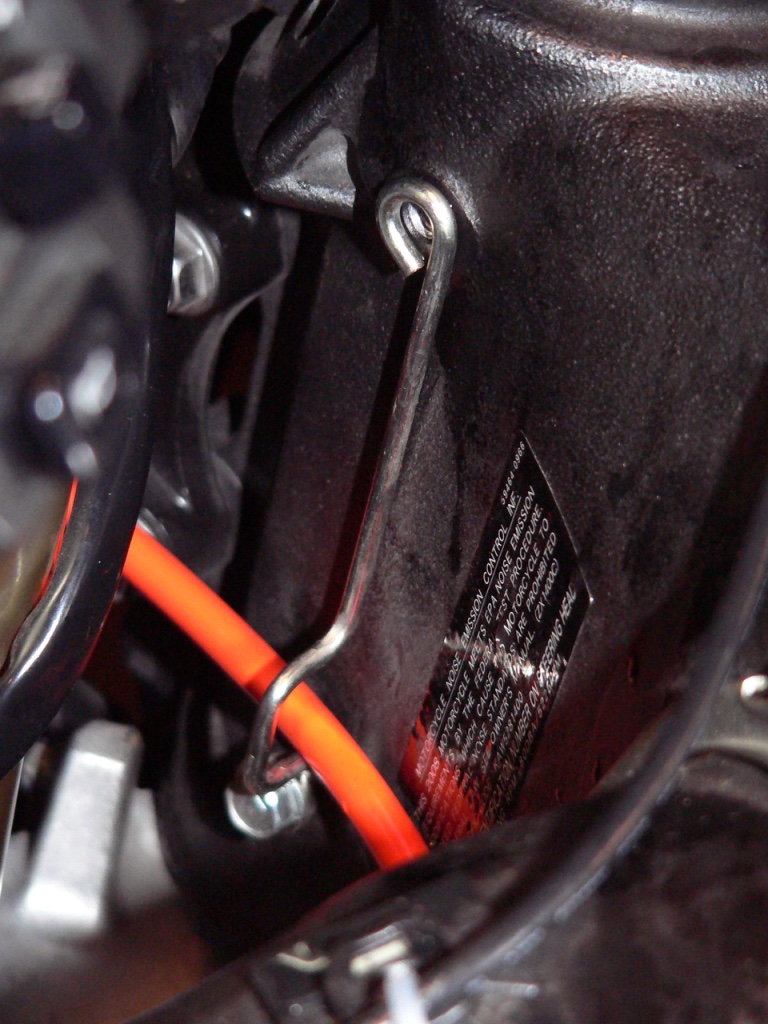
18. Anchor the idle speed adjuster knob to the air cleaner drain hose. It does not fit as snug as it did on the OEM clutch line but it is adequate. If necessary, a short strip of self adhesive backed 1/4” insulation foam could be adhered around the air cleaner drain hose to create a tighter fit.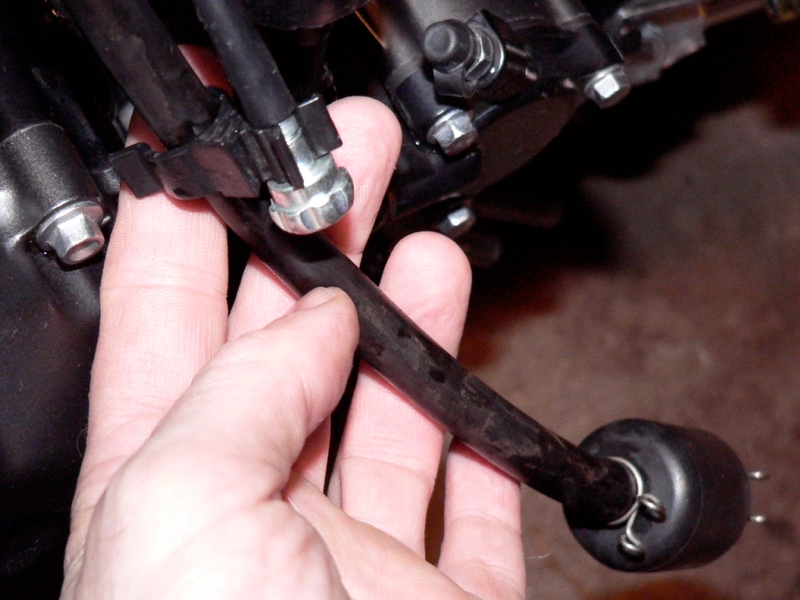
19. Place a cable tie anchor under the bottom edge of the air box directly in front of the wiring retainer bracket. Use heavy duty double sided tape to mount it. Normal self adhesive material will fall off in no time.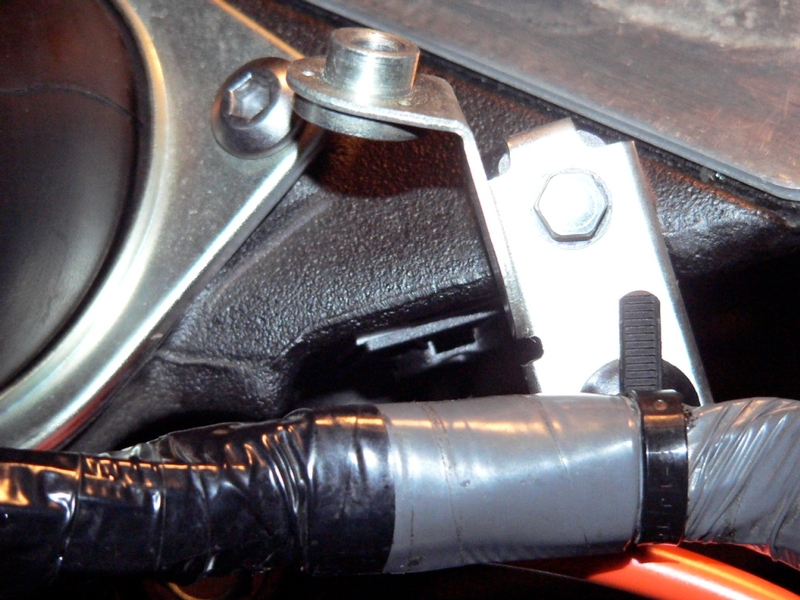
20. Use a 4” zip tie to loosely anchor the aftermarket clutch line.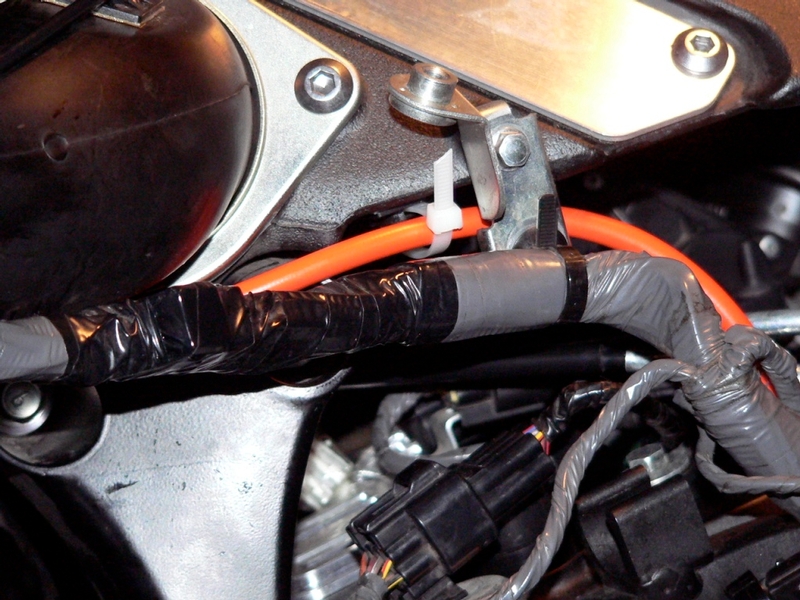
21. Turn the ring couplings to the appropriate angle for clearance of the lines (loosen banjo bolts if necessary). Test the line for steering and suspension free play and clearance. If the line rubs or drags against other parts, reroute the line so that it is free. 
22. Use a 14mm socket and a torque wrench to torque the aftermarket banjo bolts. Aftermarket bolts are often made of aluminum so they should NOT be torqued to the same value as the OEM banjo bolts. Check the manufacturer’s installation instructions for aftermarket banjo bolt torque spec. 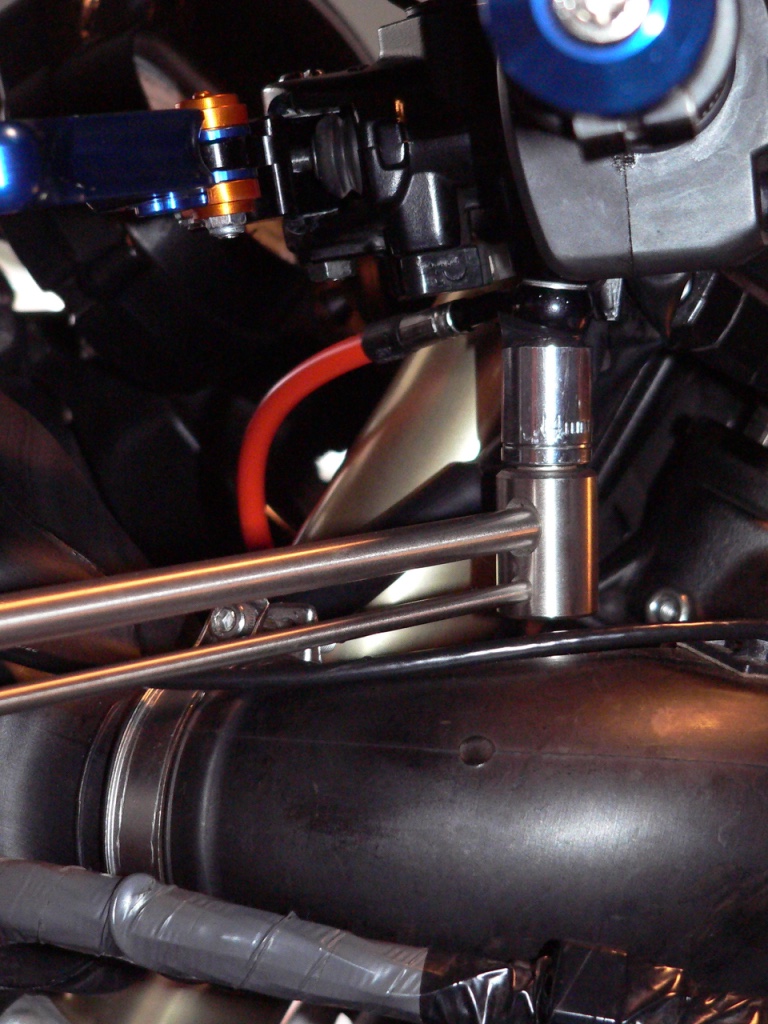
The Spiegler line I installed called for 14.75 ft lbs of torque.
23. Refill the clutch fluid system. With the clutch master cylinder drained, a vacuum pump will make inducing fluid flow from the reservoir to the master cylinder much easier. Bleed the entire clutch hydraulic system thoroughly (Brake and Clutch Bleed and Purge, steps 44 through 68).
24. Check the ring couplings and collets for leakage after operating the clutch lever under full fluid pressure.
Weights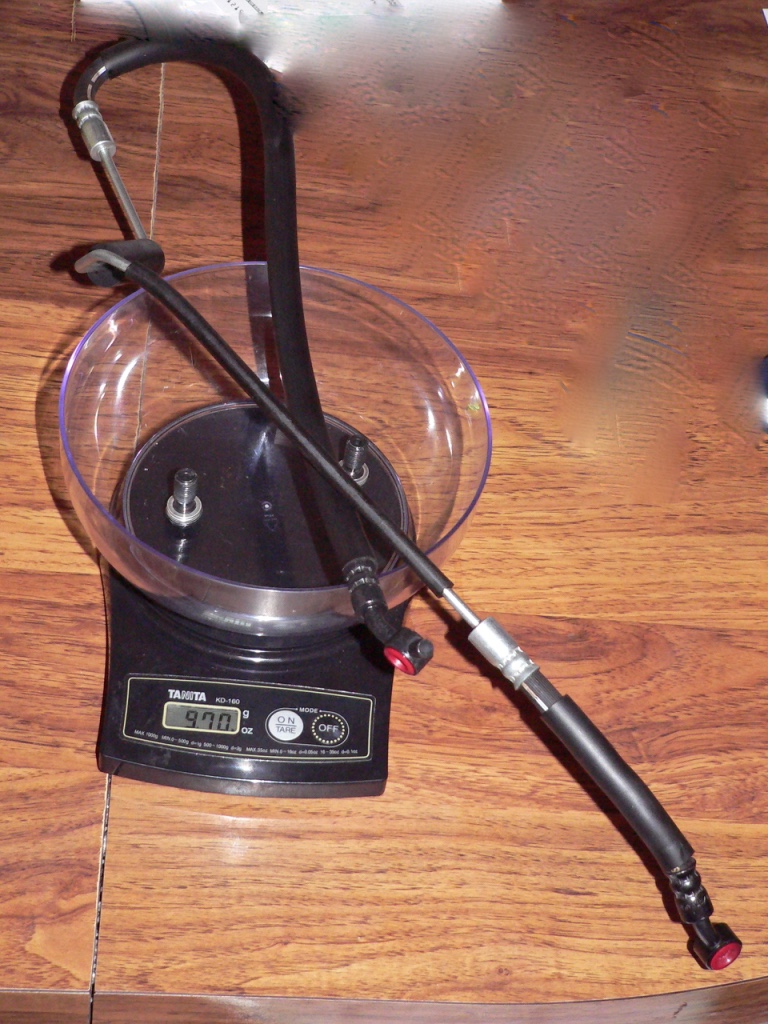
OEM line with banjo bolts and gaskets, 9.7 ounces
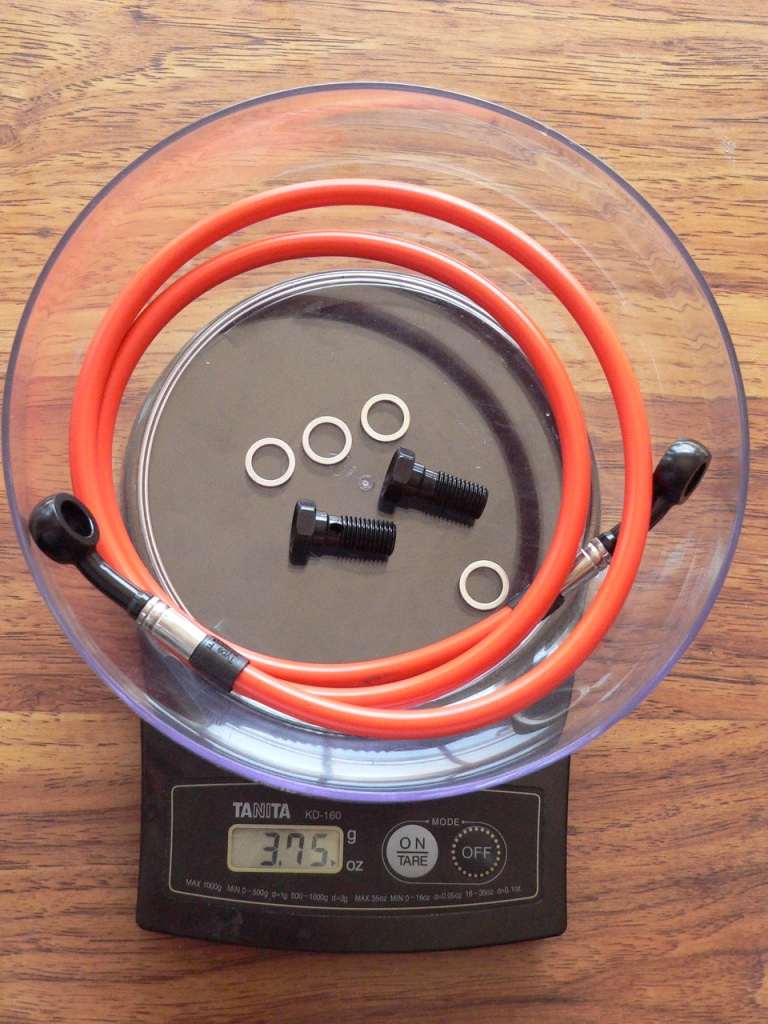
Spiegler Stainless Steel braided line with Spiegler gaskets and banjo bolts, 3.75 oz.
5.95 oz reduction in weight.
* Last updated by: Rook on 2/17/2018 @ 8:12 PM *