


Crankshaft Sensor Gen1
The crankshaft sensor reads the position of the crankshaft via a magnetism between the sensor and the tone wheel located on the RH end of the crankshaft. It’s not normally necessary to completely remove the crankshaft sensor unless it needs to be replaced.
Tools
5mm allen wrench
Kawasaki 3Bond liquid gasket (part # TB1211F: 92104-0004)
Do First
Disconnect battery negative ground from frame (see Battery Removal, steps 1 through 3).
Remove the Crankshaft Sensor Cover (Crankshaft Sensor Cover Removal, steps 1 and 2).
Crankshaft Sensor Removal
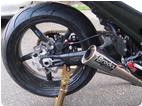
1. Locate the crankshaft sensor lead on the right side of the motorcycle. 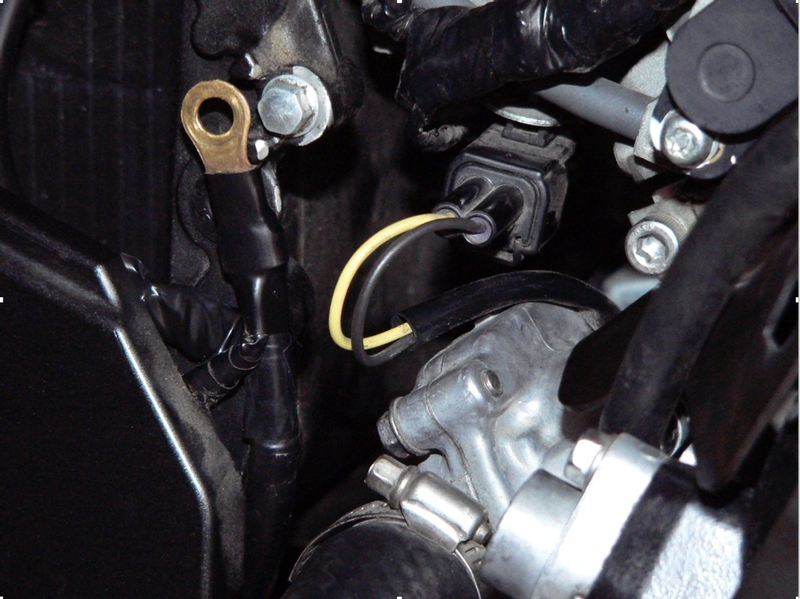
Disconnect the crankshaft sensor leads by pressing the tab on the underside of the female lead while pulling out the male lead.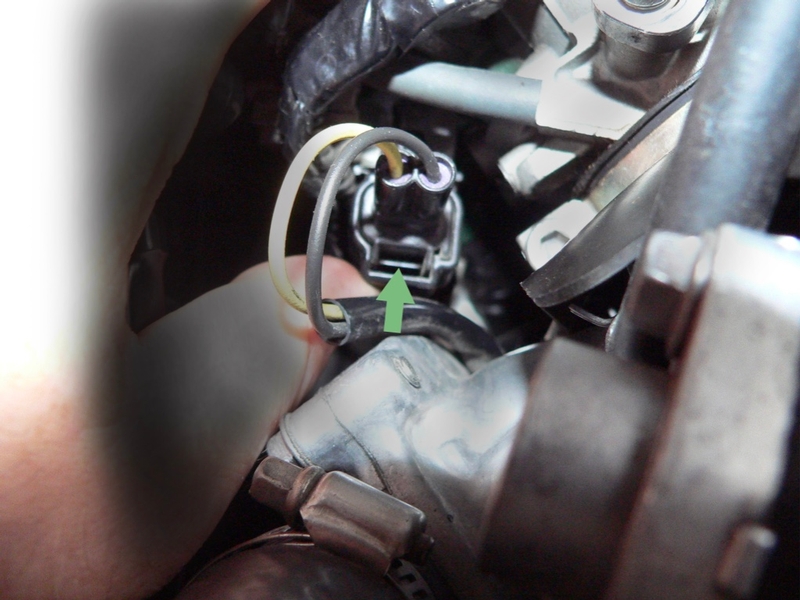
2. Use a 5mm allen wrench to remove the two mounting screws [S] that secure the crankshaft sensor. Pull the rubber grommet [P] straight out of the engine case.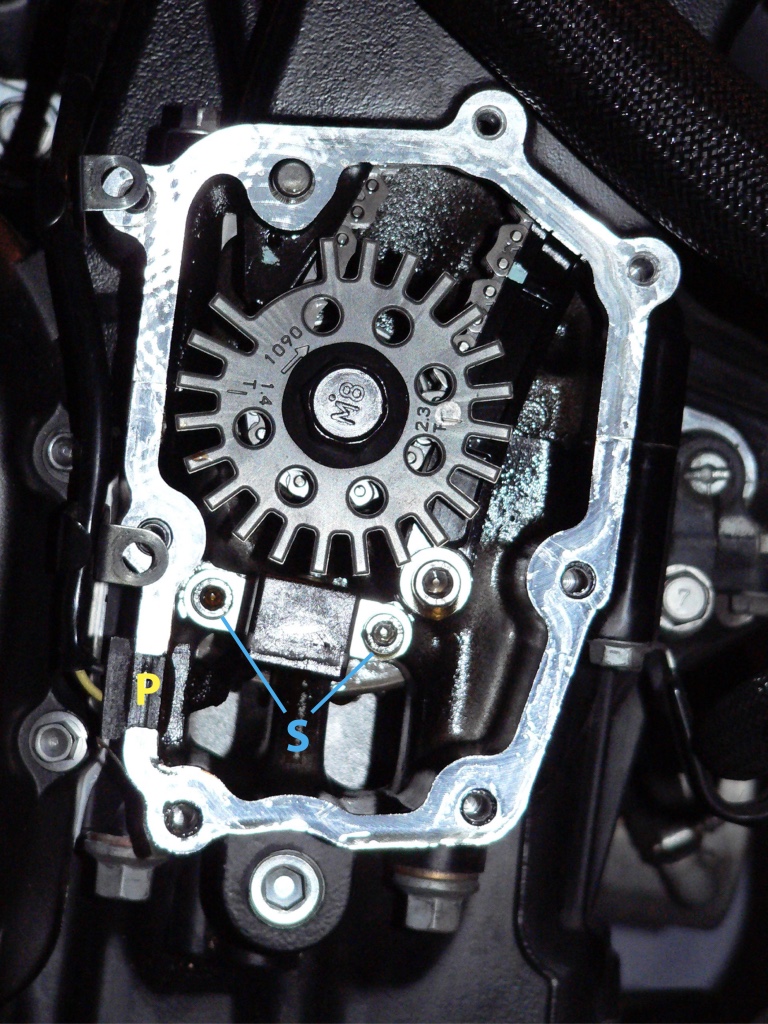
3. Carefully note the routing of the crankshaft sensor wire for installation. Thread the crankshaft sensor connector lead behind the water pump and then down to the crankshaft sensor cover. Remove the sensor and wire with connector lead.
Installation
4. Remove loose engine sealant from the crankshaft sensor grommet and the notch in the engine case the grommet fits into. Clean all oil from the notch and the grommet.
5. Apply a thin film of fresh Kawasaki 3Bond liquid gasket (part # TB1211F: 92104-0004) to the entire circumference of the crankshaft sensor grommet where it contacts the engine case. Fit the crankshaft sensor grommet into the notch in the engine case.
6. Apply non permanent thread locking agent to the crankshaft sensor mounting screws and install the sensor. Use a torque wrench to properly tighten the mounting screws.
Torque - Crankshaft Sensor Bolts: 5.9 N·m (0.60 kgf·m, 52 in·lb)
7. Rout the crankshaft sensor wire properly and connect the leads.
Connect the battery ground to the frame (see Battery Removal, step 3, reverse procedure).
Install the Crankshaft Sensor Cover (Crankshaft Sensor Cover Removal, steps 3 through 6).
* Last updated by: Rook on 1/1/2018 @ 6:36 PM *