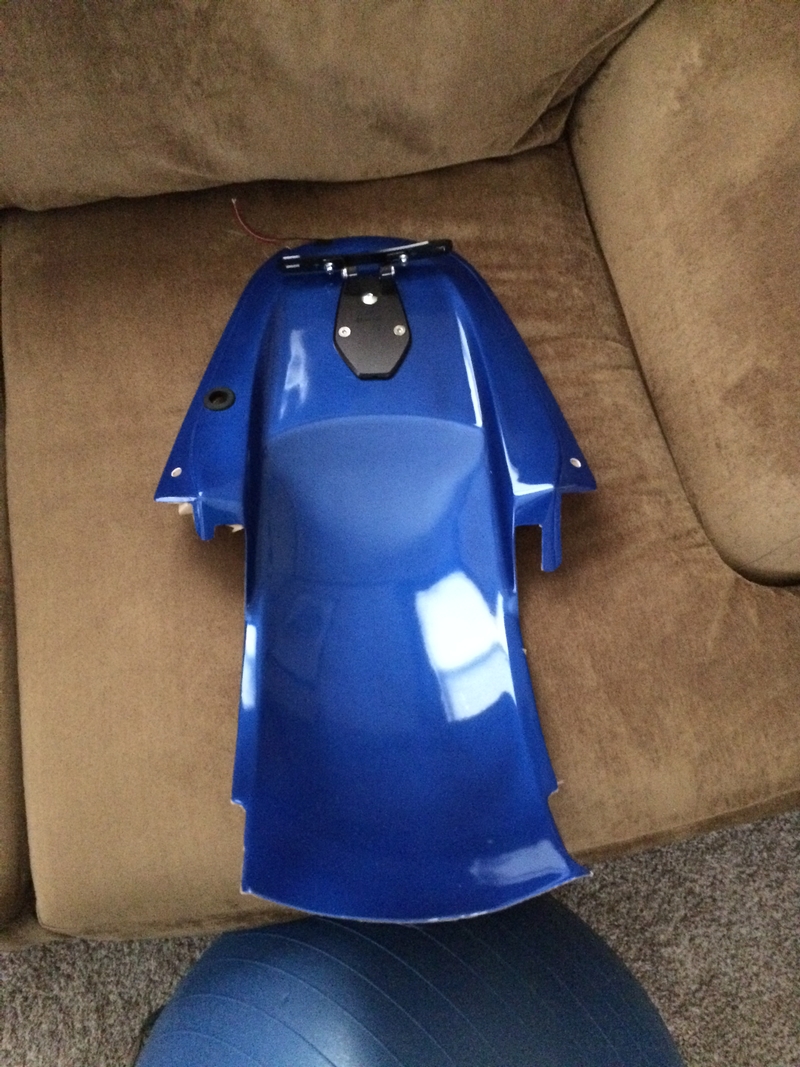
Just a mock up,Working out the gaps
* Last updated by: metalmechanic on 1/14/2018 @ 1:22 PM *
 |
 |
 |
 |
 |
 |


Page: 1
Created on: 01/14/18 01:21 PM
Replies: 14
metalmechanic
Location: WYOMING
Joined: 10/15/13
Posts: 61
Rook

Joined: 03/28/09
Posts: 20589
RE: Under tail and tail tidy
01/14/18 6:47 PM

I always loved those and I'd do it if I didn't have a black bike. Looks like it needs to fit closer to the mudflap so the side tail fairing can overlap as they should.
My bike is 10 years old and 50k miles. The only fairings that have ever broken have been the side tail fairings. They cracked where they anchor on top. It could be just a coincidence but I recently removed the tail subframe rails. This might cause the tail to shake and crack the fairings. Just thought I'd mention that. Make sure the tail pieces fit as they should to avoid cracks. There about $160/piece.
Rook
Joined: 03/28/09
Posts: 20589
metalmechanic
Location: WYOMING
Joined: 10/15/13
Posts: 61
RE: Under tail and tail tidy
01/21/18 12:50 PM
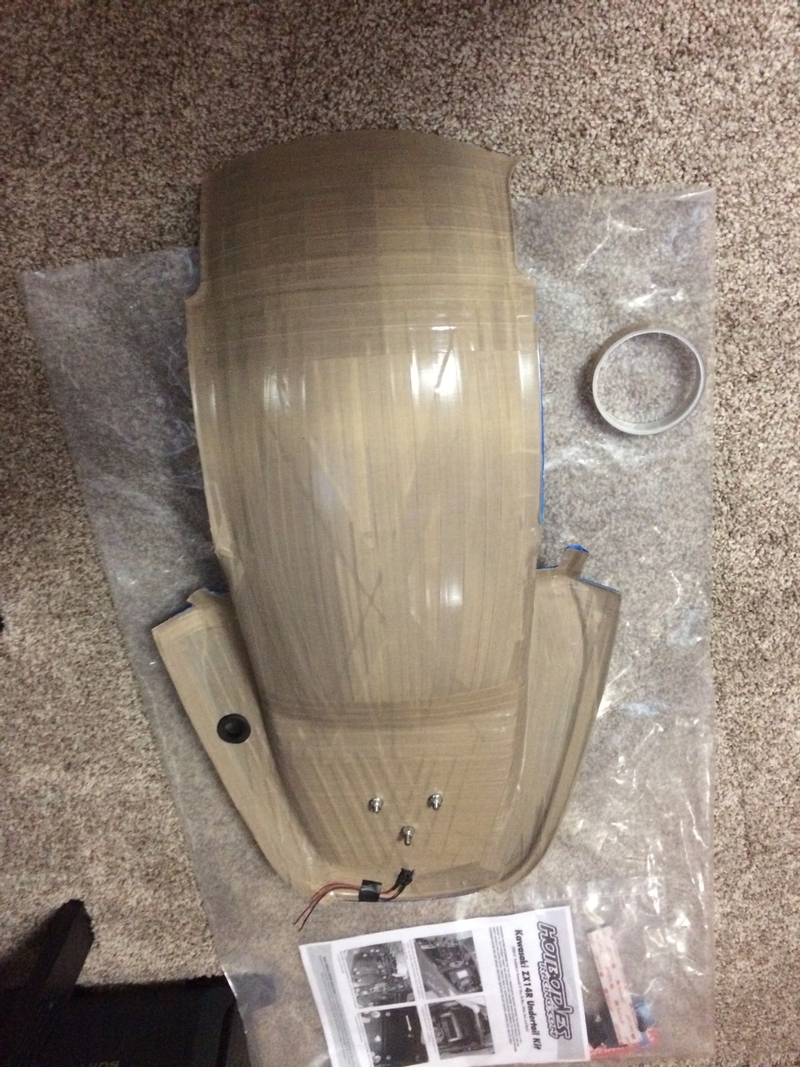
Yes HotBodies.
I have completly covered the underside with a special TefLon Chaffe Tape. To be spacer, gap filler. Also to be a moisture barrier hopefully.
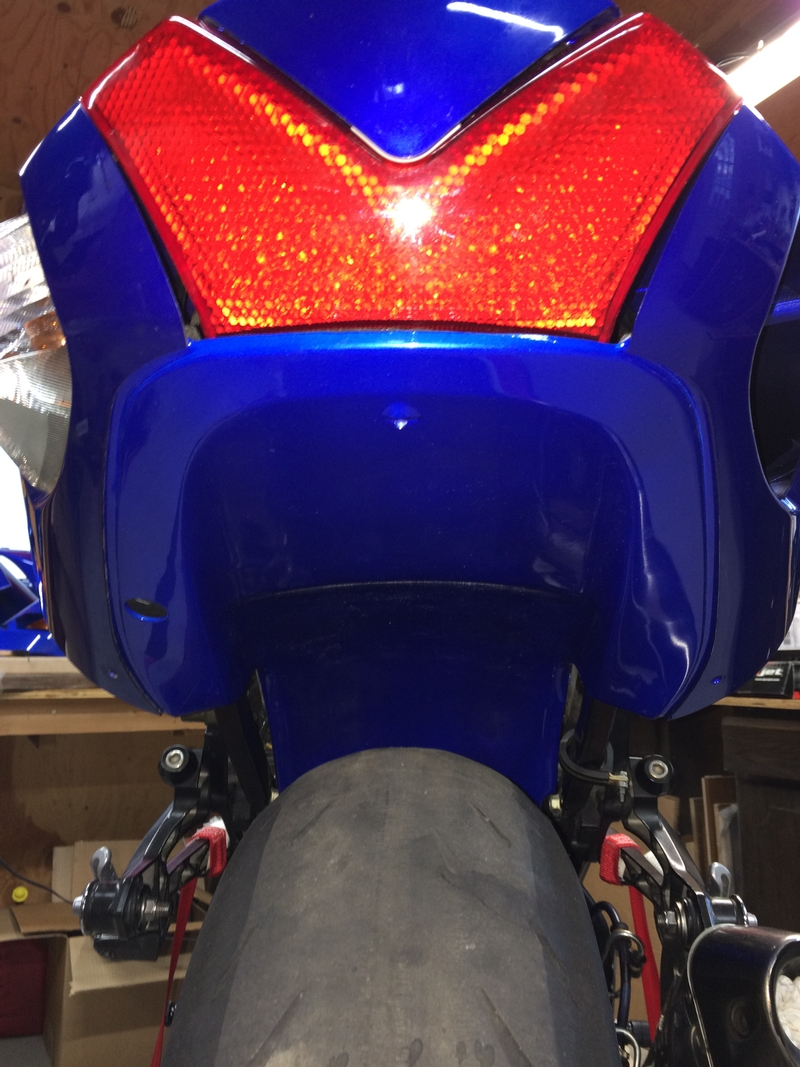
The Red Tail Light will get a few washers at each mounting post... x3 posts,, To bring it a bit further out to close the gap hopefully.
If i just install with parts provided. It will look like crap..
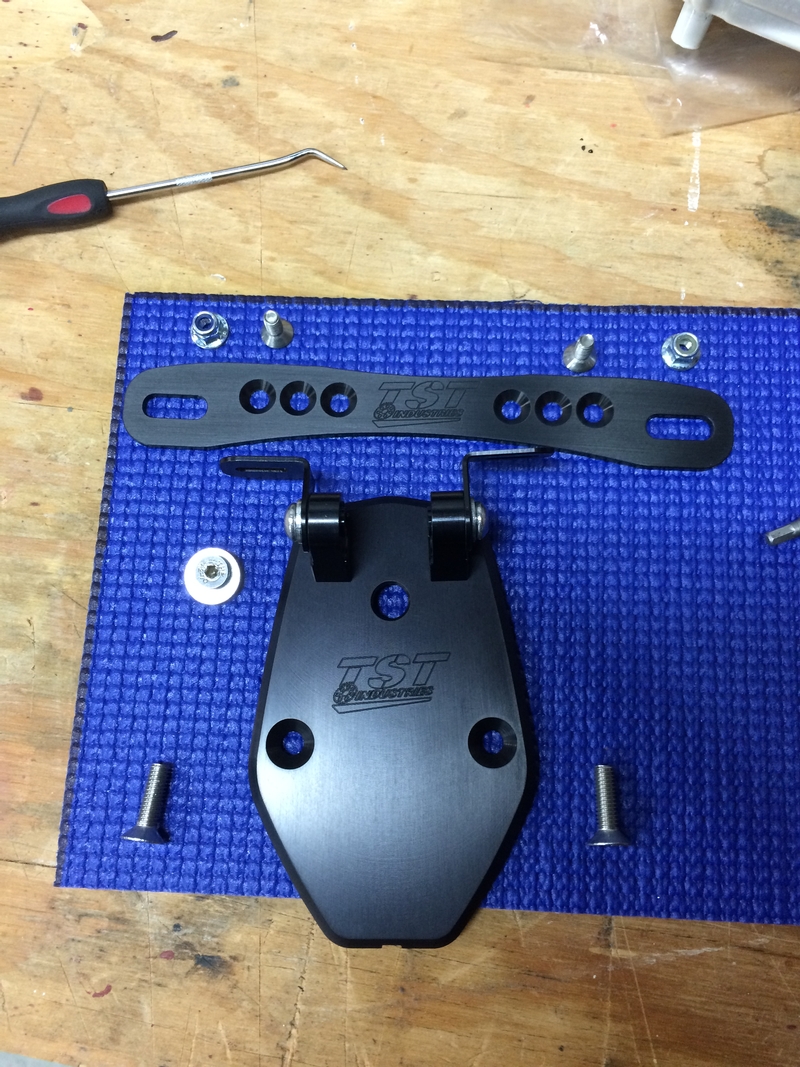
TST Industries Tail Tidy,, ZX 10 Specific,, just have to drill holes where needed.
metalmechanic
Location: WYOMING
Joined: 10/15/13
Posts: 61
RE: Under tail and tail tidy
01/21/18 12:52 PM
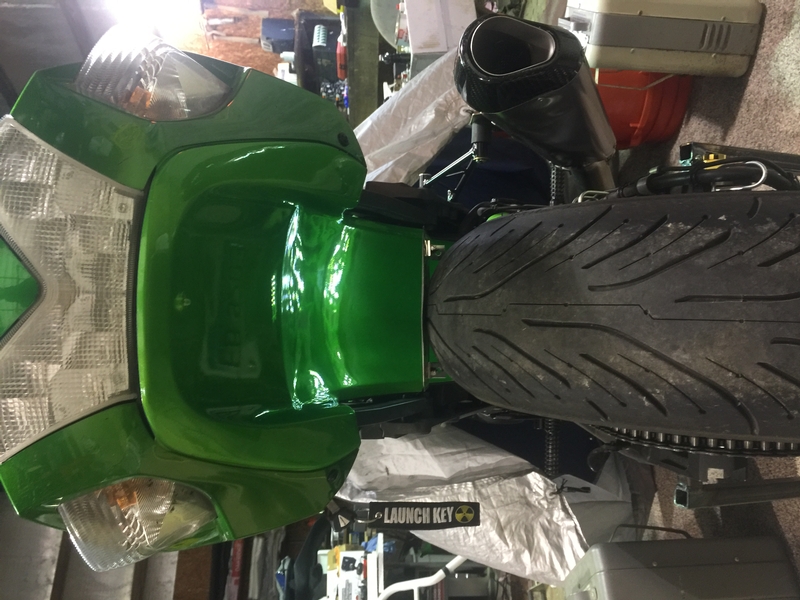
The Left / Right Tail sections i have both new
Also needed a new turn signal assembly.
Im using extra nylon washers and such to get a good fit hopefully.
And maybe some shock absorbtion.
They were both broke when i got the bike. Im second owner
* Last updated by: metalmechanic on 1/21/2018 @ 12:56 PM *
Grn14

Location: Montana
Joined: 02/25/09
Posts: 15511
Rook
Joined: 03/28/09
Posts: 20589
ironheadmike

Location: Illinois, USA
Joined: 12/22/17
Posts: 204
RE: Under tail and tail tidy
02/04/18 8:51 AM
I sure hate to muck this up with mounting a lic plate...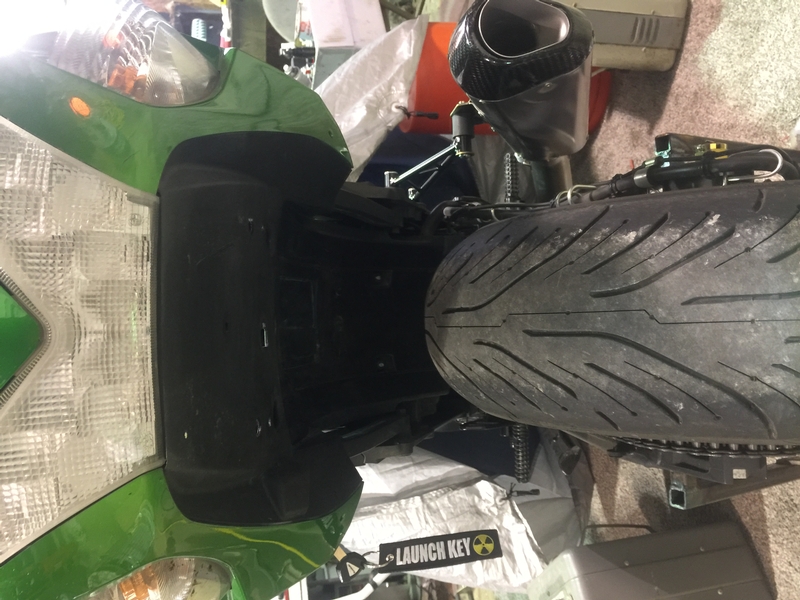
Rook
Joined: 03/28/09
Posts: 20589
RE: Under tail and tail tidy
02/04/18 1:18 PM
Yeah, Looks too good for a lic plate but you won't last long on the street without that.
You could attach the brackets to the undertail with Goop. I've never used it as an adhesive but Hub claims it works great for sticking parts on the bike. It might be too strong for plastic. If you remove it, the plastic may crack. You grab it with a needle nose and roll it off. I'd try it on the inside of your belly pan. Lay down a bead where you intend to mount and let it dry. Then apply fresh Goop and stick your part to the cured bead of Goop. Go for an appreciable thickness so it will pull off cleanly instead of breaking if you try to remove it. OR just go with the holes where the fender was mounted. Drill a slow pilot hole so it won't melt. Finish it off with a dremmel grinder stone. Do all from above. Those dremmels have a way of jumping....or use a round needle file to be safe.
* Last updated by: Rook on 2/4/2018 @ 1:20 PM *
Rook
Joined: 03/28/09
Posts: 20589
ironheadmike
Location: Illinois, USA
Joined: 12/22/17
Posts: 204
RE: Under tail and tail tidy
02/04/18 2:35 PM
Couldn't stand it. I went down under so to speak.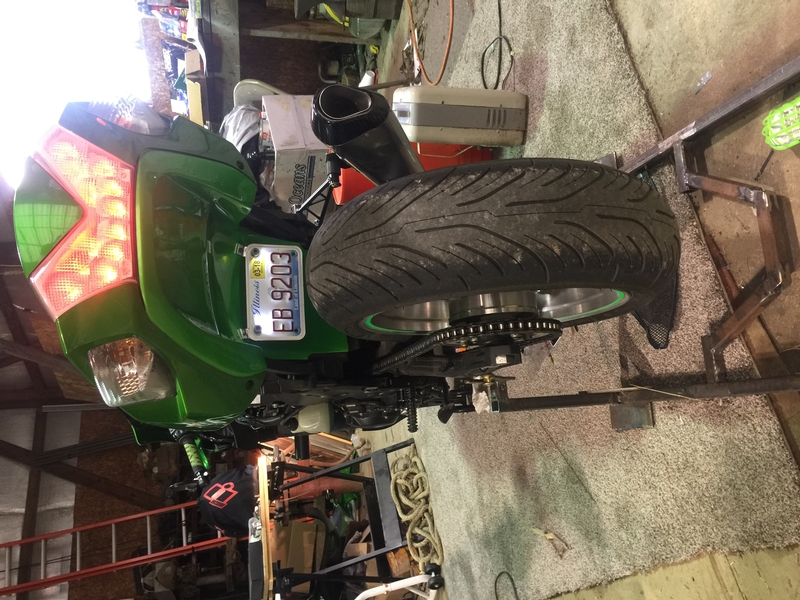
* Last updated by: ironheadmike on 2/4/2018 @ 5:39 PM *
david5525

Location: Kirkland WA PNW
Joined: 05/04/15
Posts: 509
ironheadmike
Location: Illinois, USA
Joined: 12/22/17
Posts: 204
RE: Under tail and tail tidy
02/04/18 8:44 PM
Thank you Dave. I will post up proud papa pics for sure. Man I can hardly wait. Wheels and rotors are the final pcs of this winter's puzzle...
Rook
Joined: 03/28/09
Posts: 20589
ironheadmike
Location: Illinois, USA
Joined: 12/22/17
Posts: 204
RE: Under tail and tail tidy
02/05/18 5:50 AM
Thanks Rook! Hey I was trying to find the thread where you told me about the oil based paint marker. I bought 2
CH Hanson valve tip white paint markers. They say warning; contains xylol, which I hoped indicated they are oil based. I cant seem to verify this any other way. You got anything helpful on this?
Page: 1
New Post
Please login to post a response.