


Cam Chain Tensioner Removal
The cam chain tensioner is a spring loaded piston that maintains proper tension of the cam chain. The OEM cam chain tensioner adjusts automatically to cam chain wear. It is often replaced with an APE manual cam chain tensioner. The OEM cam chain tensioner can be noisy and the APE tensioner runs quietly when properly adjusted.
The cam chain tensioner is also removed in order to remove the camshafts and cam chain.
Tools:
8mm socket
3” extension
torque wrench, 20-200 inch pound
straight slot screwdriver with a 6 inch shaft
Removal
1. Locate the cam chain tensioner.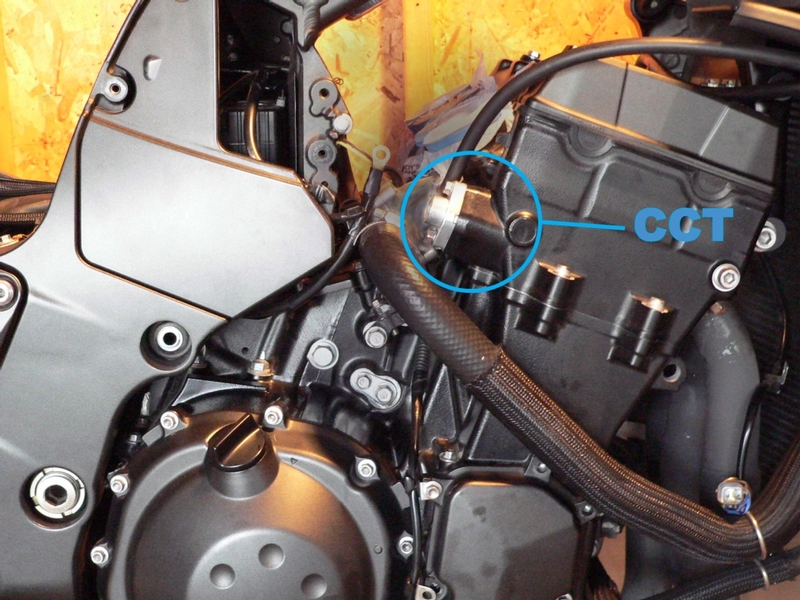
2. Using a socket, 8mm socket and 3” extension, loosen the two bolts from the face plate of the CCT.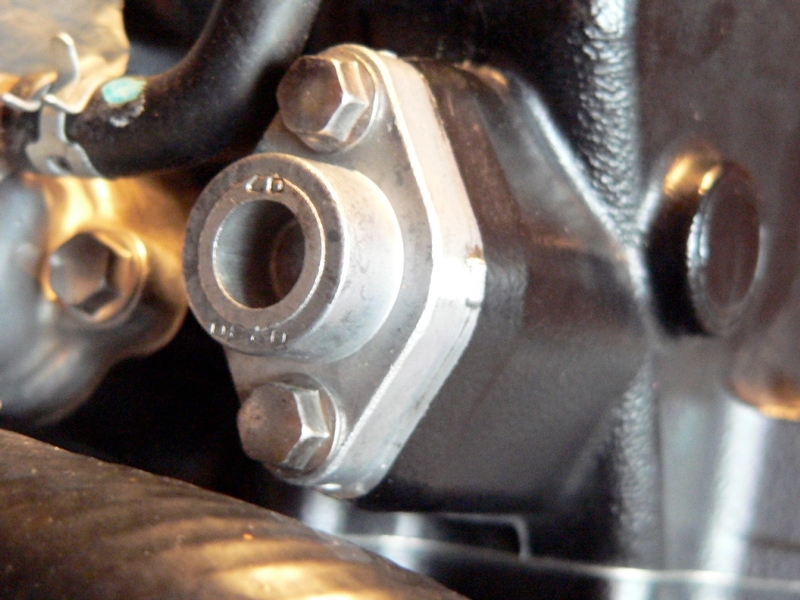
3. Press tensioner in to relieve spring tension. Remove the bolts.
4. Remove CCT from the engine case.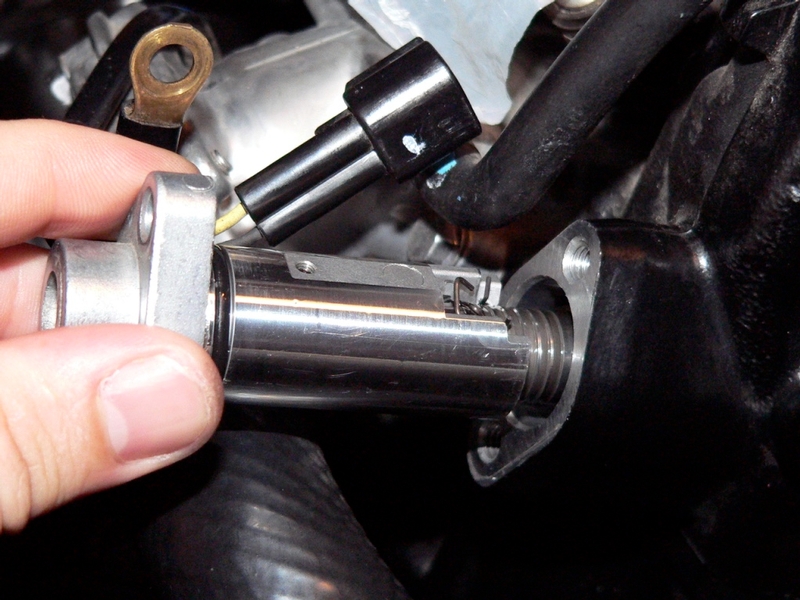
Installation
5. Pinch the stopper wire to release the pushrod. 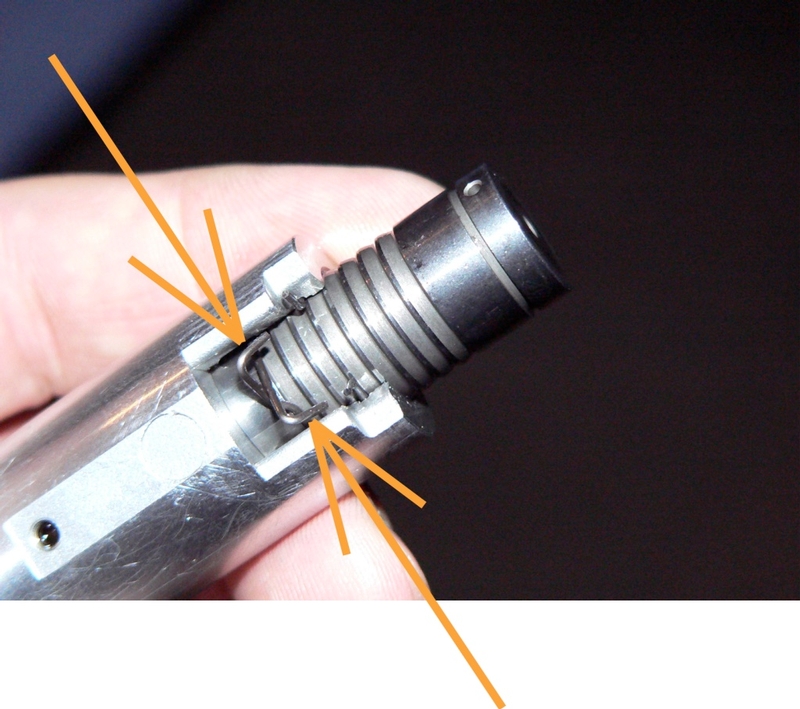
6. Compress the pushrod all the way into the cam chain tensioner body. Pinch the snap ring to transfer it to the bottom groove on the pushrod. 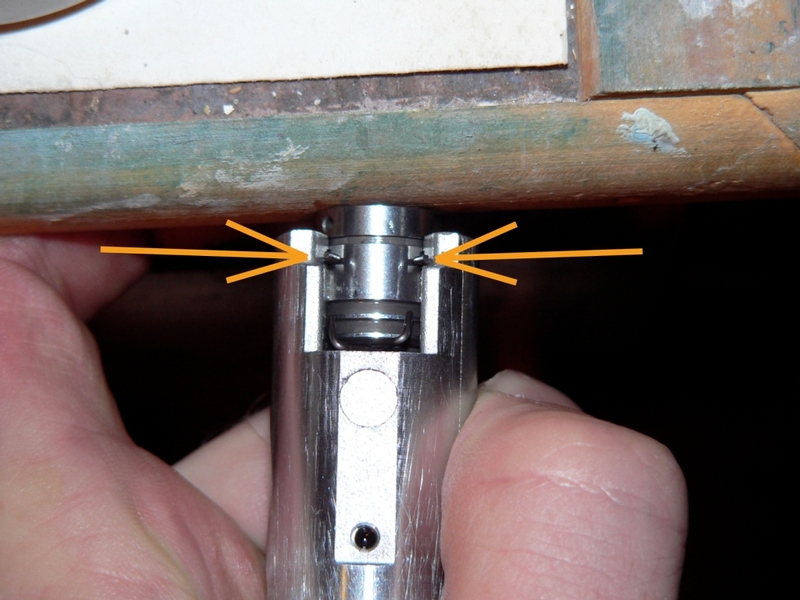
This will lock the pushrod inside of the cam chain tensioner body.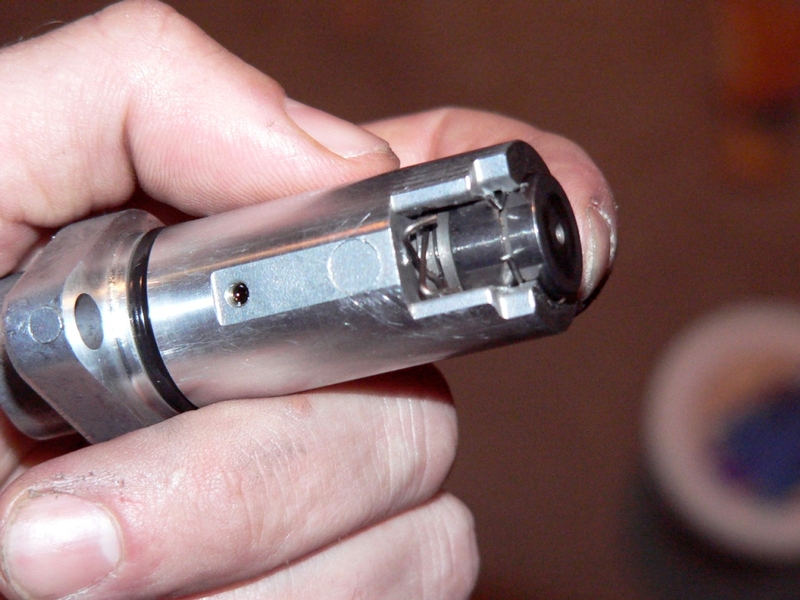
7. Slide the cam chain tensioner all the way into the hole in the engine case. Tighten the mounting bolts using an 8mm socket and 3” extension.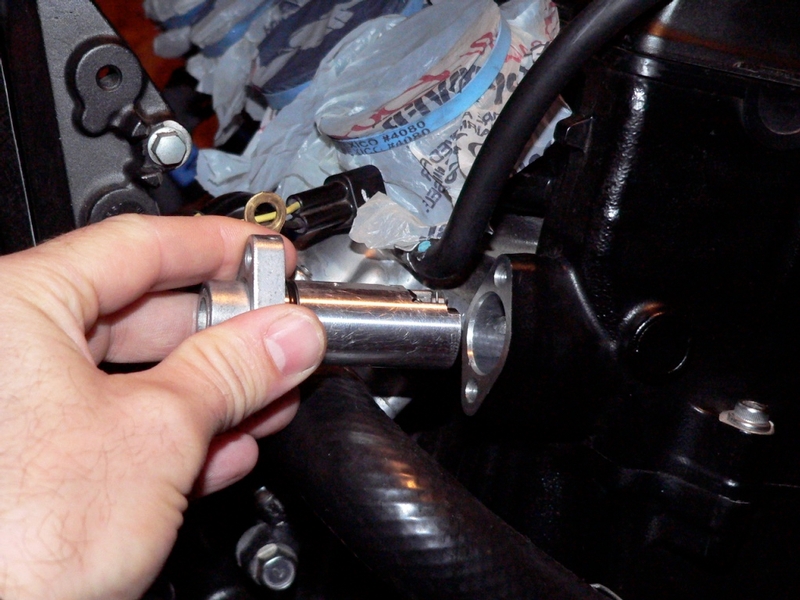
8. Torque the cam chain tensioner mounting bolts to 87 inch pounds.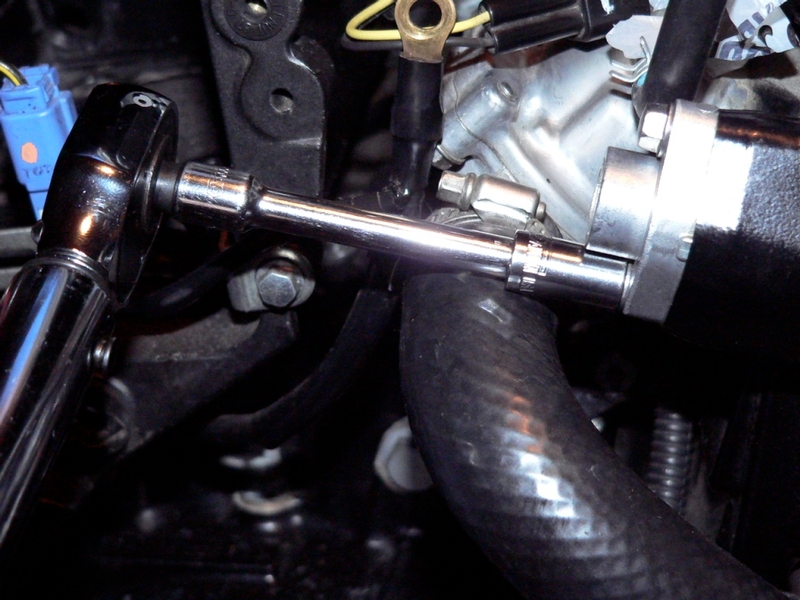
9. To have room to perform the following procedures, remove the heat shield that protrudes from the side of the airbox. 8mm bolt.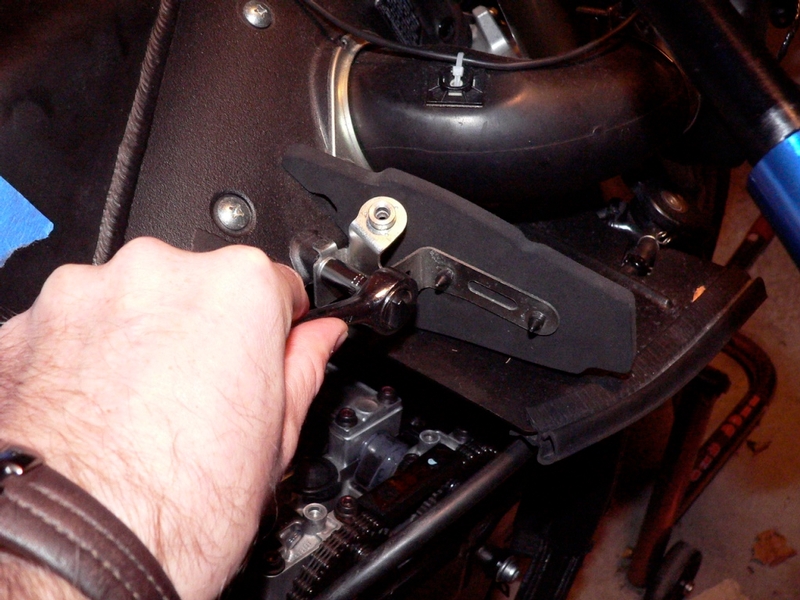
You also may wish to try Hub’s technique of resetting the CCT. No need to remove the head cover. I would suggest giving it a shot.
10. Remove Engine Cylinder Head Cover (see Cylinder Head Cover Removal, steps 1-2).
11. Find a straight slot screwdriver that has a 6 inch shaft. It must reach from the exhaust sprocket to the small raised disk shape which is in line with the cam chain tensioner pushrod.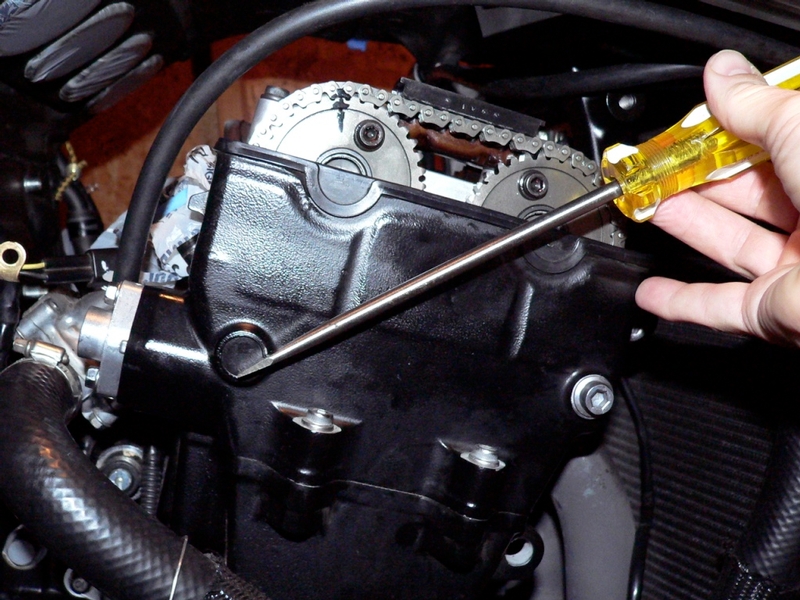
12. Slide the straight slot screw driver into the engine case beside the cam chain. Position the blade of the screwdriver [gold] at the inside of the back run of the camshaft chain [blue]where it passes over the cam chain guide [red] which adjoins the cam chain tensioner [grey]. Deliver a few short, strong thrusts on the screwdriver [white arrows] causing pressure against the cam chain tensioner push rod. You will hear the pushrod ratchet out when its snap ring releases. 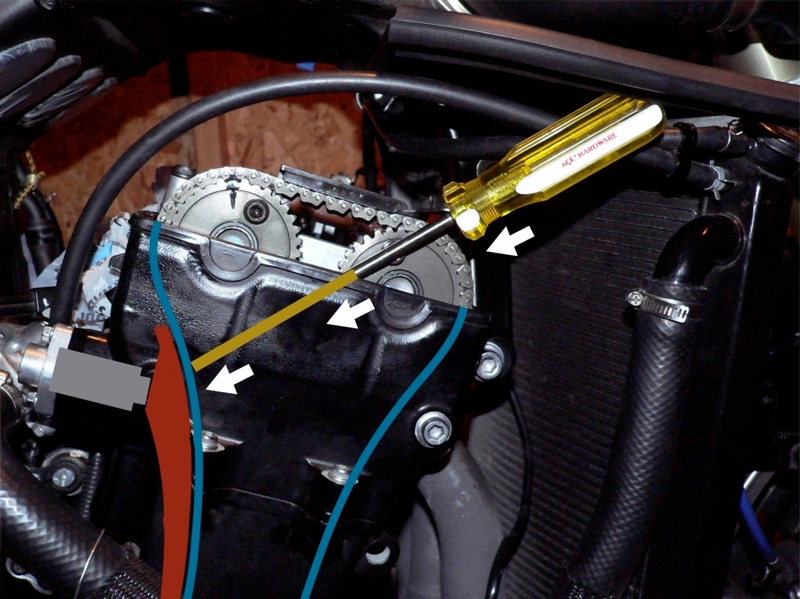
13. Turn the motor two complete turns (See Crankshaft Positioning, steps 1 and 2) to allow the tensioner pushrod to extend fully.
Install Engine Head Cover, steps 3-6.
* Last updated by: Rook on 1/29/2018 @ 5:27 PM *