


Gen1 Terminator Plug/Wire Connector Mount, LH Side Frame
I haven’t had the occasion to find out what this wiring is for. It may be helpful to remove it if there were electrical problems and these wires and connectors need to be tested. Other than that, you may want to remove this wiring from its bracket to eliminate the bracket permanently. The bracket doesn’t seem to serve any purpose other than to hold the wire connectors from hanging loose and a zip tie will do just as well.
Do First:
Remove fuel tank (See Fuel Tank Removal, steps 1-10).
Tools:
pliers
narrow bladed screwdriver
zip tie
zip tie mount
3M double sided tape
Removal
1. Remove LH screw on font mudflap brace (See Fuel Tank Bracket and Mud Flap Bracket Removal, step 1). The wire harness bracket will be unfastened from its mounting position.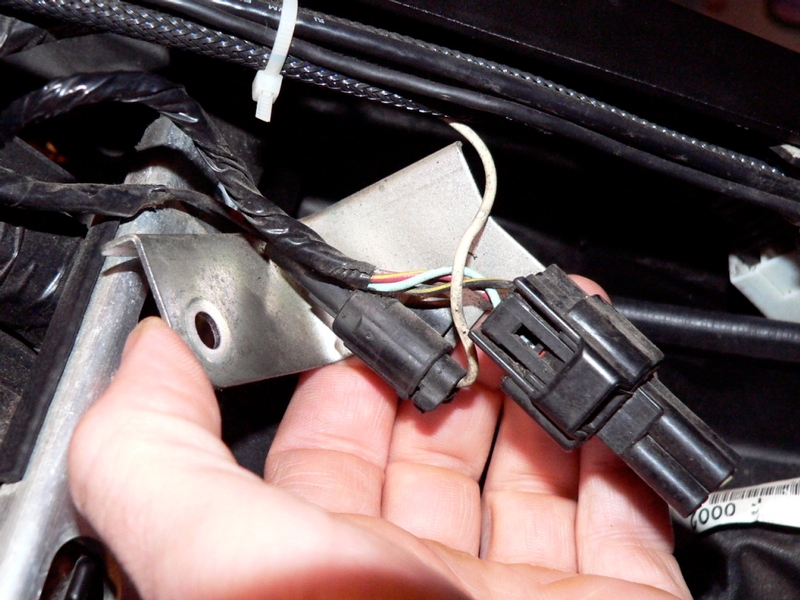
2. Viewing the bracket from the LH side of the bike, you will see the catches that secure the terminator and the wire connector. 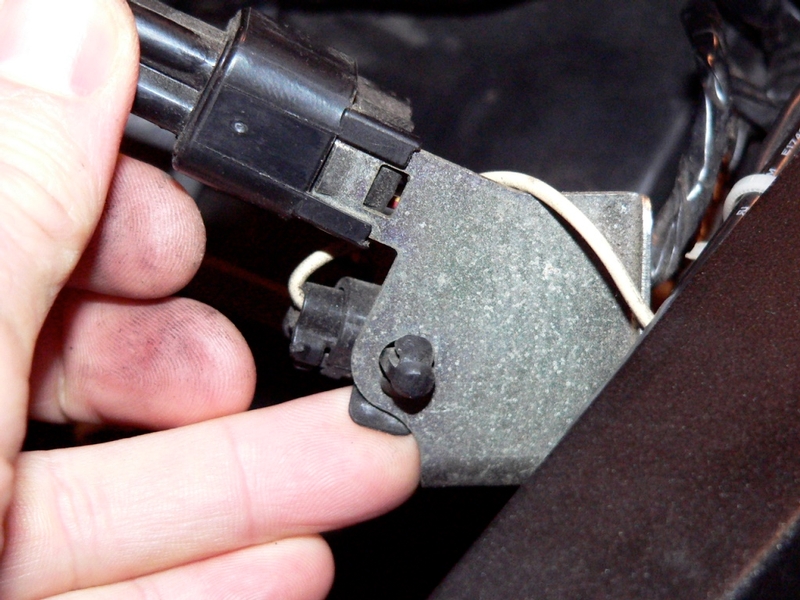
The wire connector is very easy to remove. Gently pinch the catches on the mounting
pin with a pliers and push the pin through the hole in the bracket.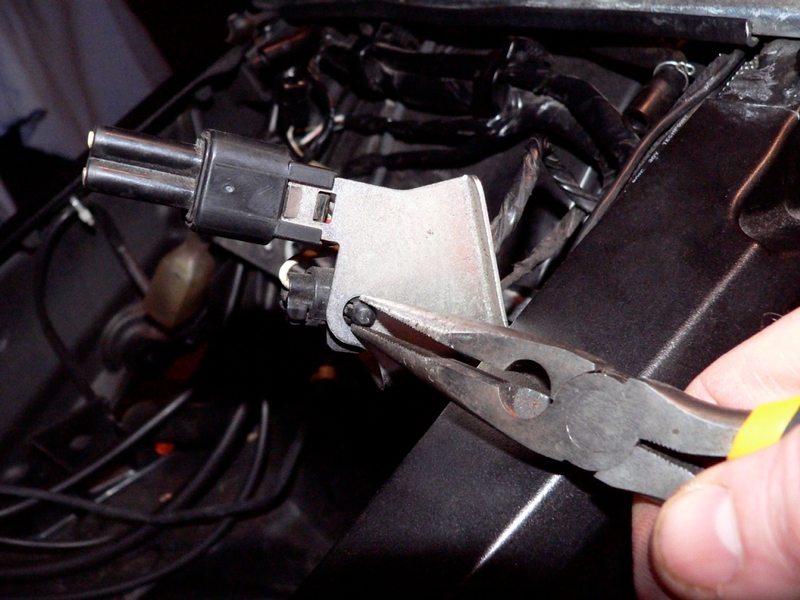
3. The connector with the terminator plug is a bit more difficult to remove. Insert a narrow bladed screwdriver between the connector and the bracket. Slide the blade of the screwdriver in until it is even with the top of the catch. Carefully pry the catch inward while pulling the connector off of the bracket. 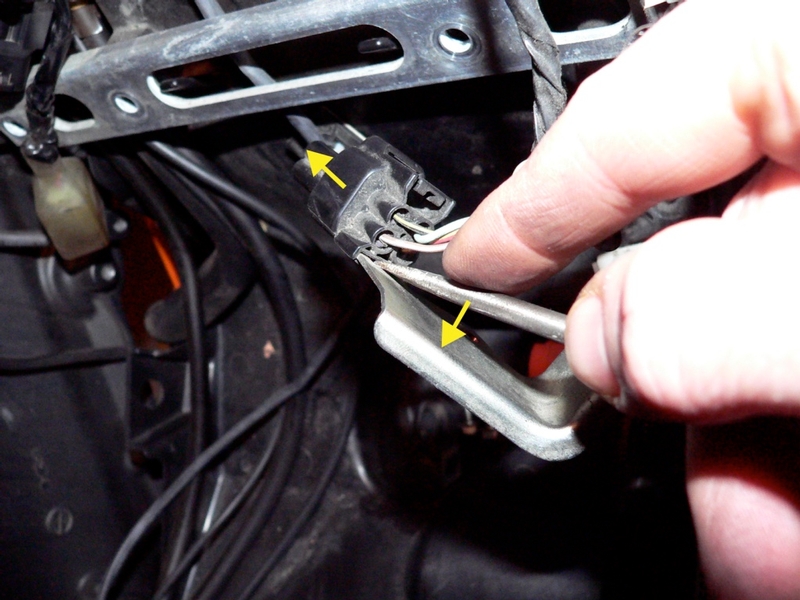
4. The wire harness bracket may be loosely secured with a zip tie to a zip tie mount that
is adhered to the inside top of the rear frame.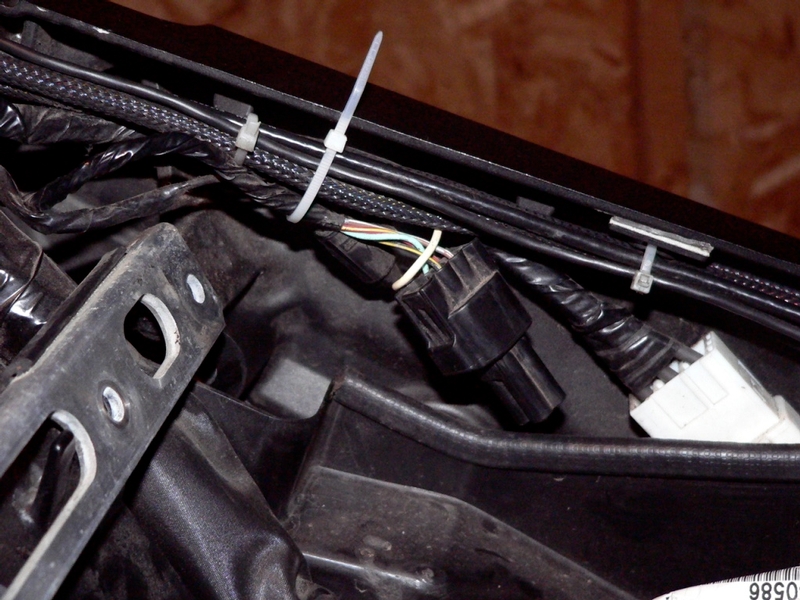
In this picture, you see the wire connectors secured by a zip tie to aftermarket wiring I had already attached to the frame with a zip tie mount (directly above the large white connector inside of the frame). I would recommend 3M medium duty double sided tape to ensure that the mount remains adhered to the frame. The foam self adhering pad on zip tie mounts stick to the mount very well but they do not always remain adhered to the surface they are mounted to on the bike.
Installation
5. Installation is the reverse procedure. The connector with the terminator plug is slid back onto the tongue of the bracket until the catch snaps into the slot in the tongue. The other connector is fastened to the bracket by pressing the mounting pin through the hole in the bracket until the catches snap open.
6. Install the wire harness bracket on top of the mudflap bracket (See Fuel Tank Bracket and Mud Flap Bracket Removal, step 2).
Install fuel tank (See Fuel Tank Removal, steps 11-15).
Weight
Terminator plug/connector mounting bracket: 1.00 oz.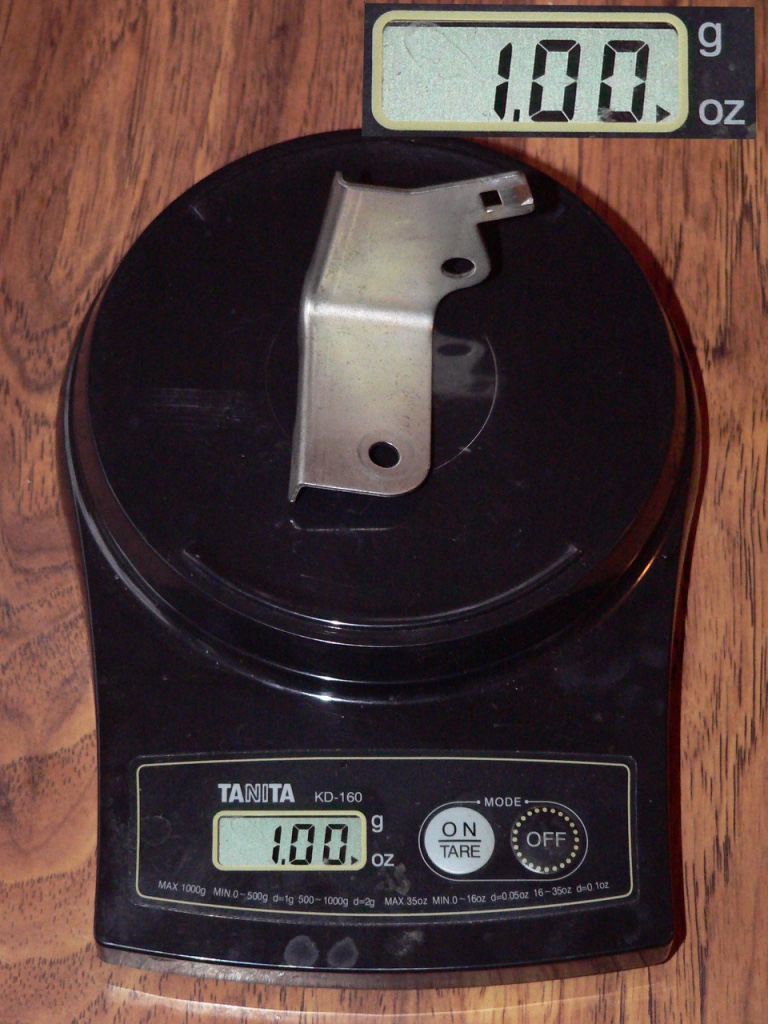
* Last updated by: Rook on 11/25/2017 @ 7:39 PM *