


Heat Insulator Rubber Plate Removal, Engine-Gen1
The heat insulator plate over the motor is opened up on top or removed completely in order to to remove the cylinder head cover. There is not much else reason to remove it except to make the engine more accessible or to reduce overall weight of the bike.
Some have suggested that the heat insulator plate is designed to maintain lower temperature air in the the air box. If this is true, permanently removing the heat insulator plate may actually decrease engine performance. If this is so, it would probably be a factor at low speed more than it would at high speed. Many race bikes are run without heat insulator plates on the motor. The heat insulator plate over the top of the air box is also commonly removed.
Do First:
Remove Stick Coil Subharness, Steps 1 through 3.
Remove Engine Subharness, Steps 1 through 4.
Remove Camshaft Sensor Lead, Steps 1 through 3.
Remove Clean air switch valve, steps 1-7
Remove Throttle Body Assembly, steps 1-9
Remove Heat Shield Wings bolts and push pins, steps 3 and 4.
Disconnect the lower end of the Crankcase Breather Vent Pipe (see Crankcase Breather Vent Pipe, step 2).
Removal
1. Unfasten the tab [D] on both sides of the mat.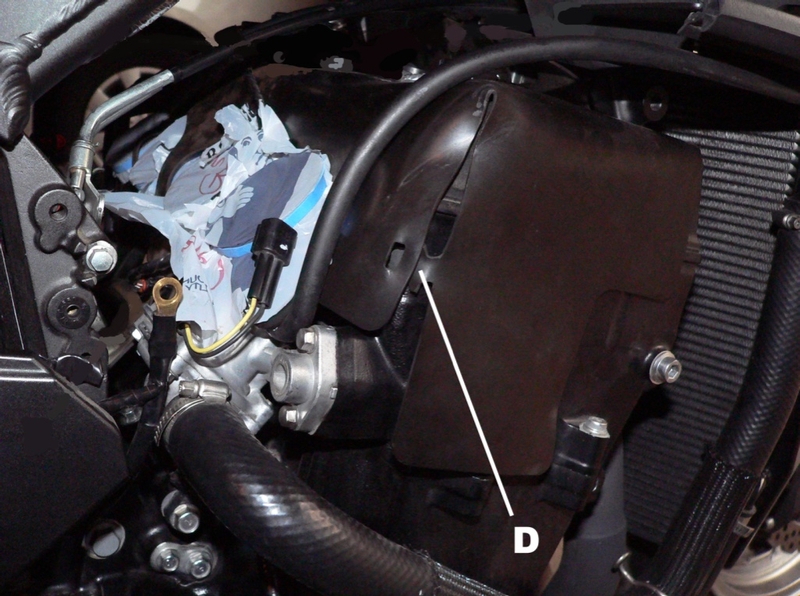
2. The front of the heat insulator plate turns up. Lift the radiator overflow hose and pull the heat insulator plate toward the back of the engine compartment.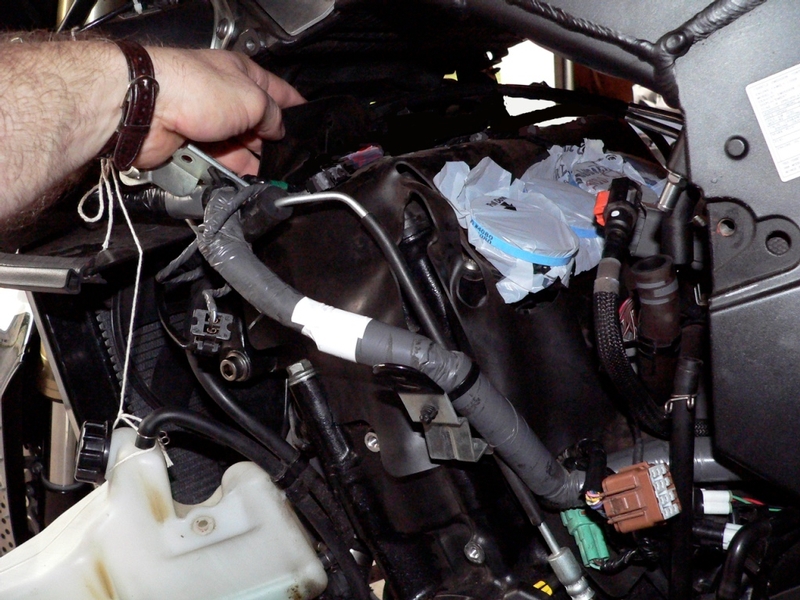
3. Pull the front of the insulator mat backward while maneuvering it over the objects such as stick coils and throttle body holders.
Pull the back of the blanket forward.
Remove the insulator blanket.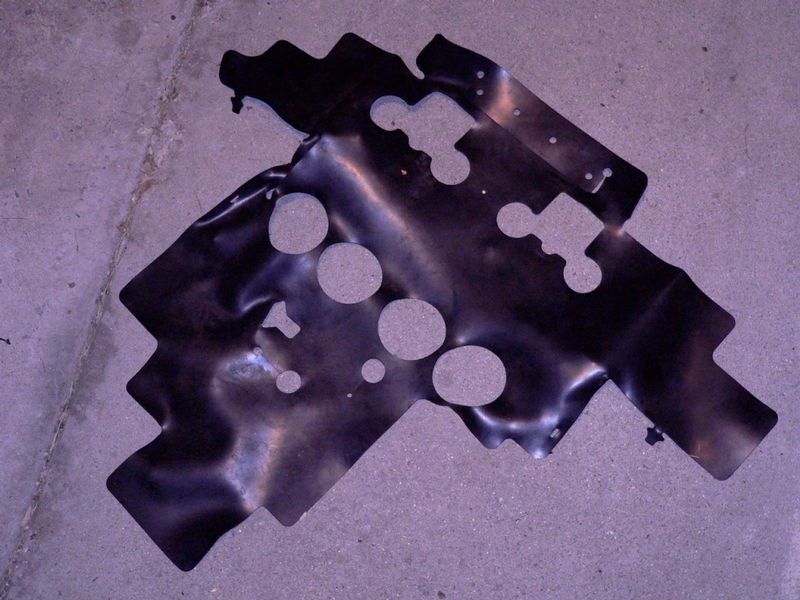
Installation
4. Reverse steps 1 through 3 to install the heat insulator shield.
Install Heat Shield Wings bolts and push pins, steps 3 and 4.
Install Throttle Body Assembly, steps 19 through 33. http://zx14ninjaforum.com/messages.cfm?threadid=62F83816-D56B-84E2-14E2834C9FFA4D60
Install Clean air switch valve, steps 1 through 7, reverse procedure
Install Camshaft Sensor Lead, Steps 5 through 8.
Install Engine Subharness., Step 5.
Install Stick Coil Subharness, Steps 4 and 5.
Connect the lower end of the Crankcase Breather Vent Pipe (see Crankcase Breather Vent Pipe, step 3).
Weight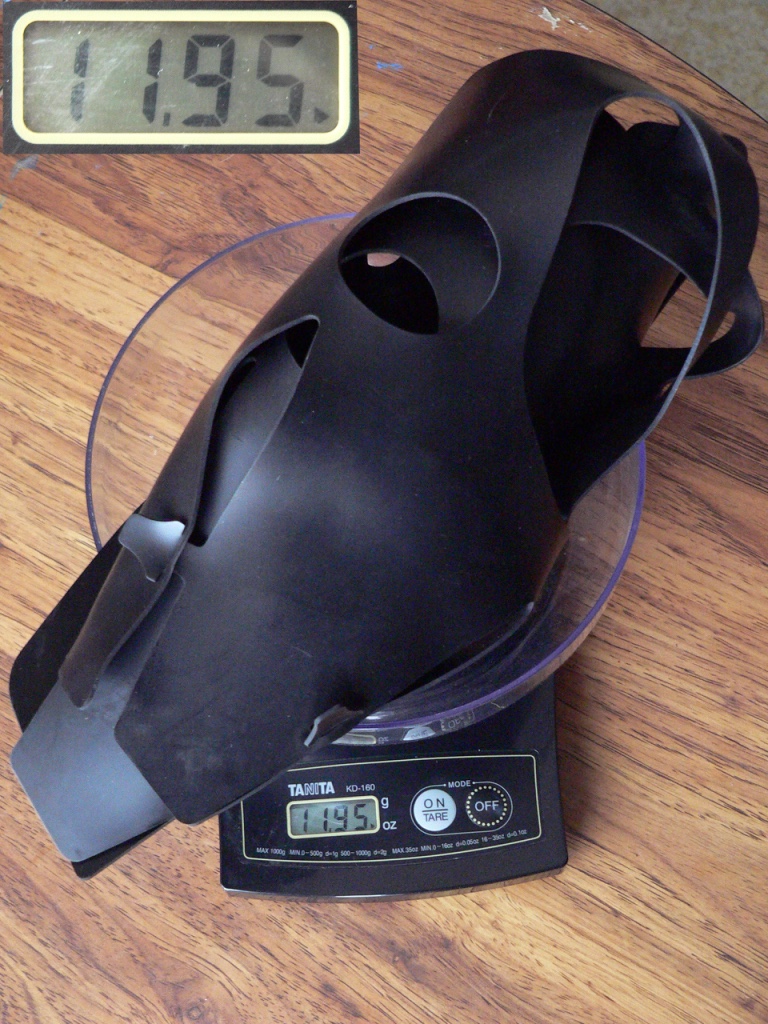
* Last updated by: Rook on 1/5/2018 @ 6:01 PM *

 Although I might myself be more inclined to think the insulator blanket is there to regulate the temp on the underside of fuel tank?IDK