


Tire Air Valve Replacement/Aftermarket Valve Installation
Valves are supposed to be replaced with each tire change. This is a precaution to ensure that the rubber is in good condition and the valve core is undamaged. If the valves are not changed every time tires are replaced, they should be changed every year or two, at least.
Metal aftermarket valves like the Bridgeports shown later on in this tutorial do not need to be changed. Perhaps the valve core, oring and grommet could be changed periodically.
Tools:
side cutters
silicone lube
small screwdriver
valve core tool
Valve Stem Removal
Remove the wheels (See Wheel Removal, steps 1-12 and steps 26-39).
Remove the tire from the rim (see Tire Removal, steps 1-13)
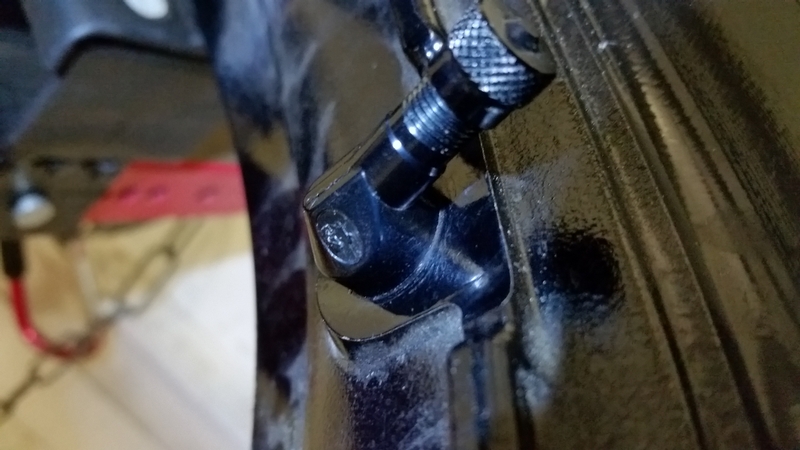
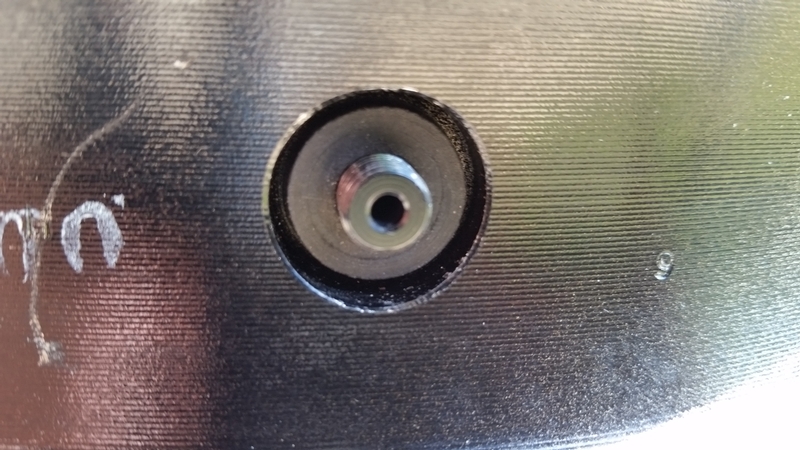
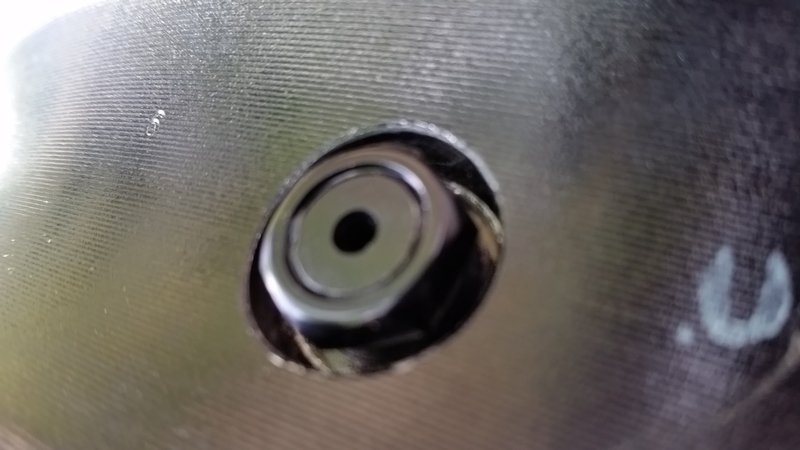
Press the valve stem over and you will see the portion that is inside the rim has a reduced diameter. There is an expanded portion on the outside and another expanded portion on the inside. This is all that holds a rubber valve in the rim. 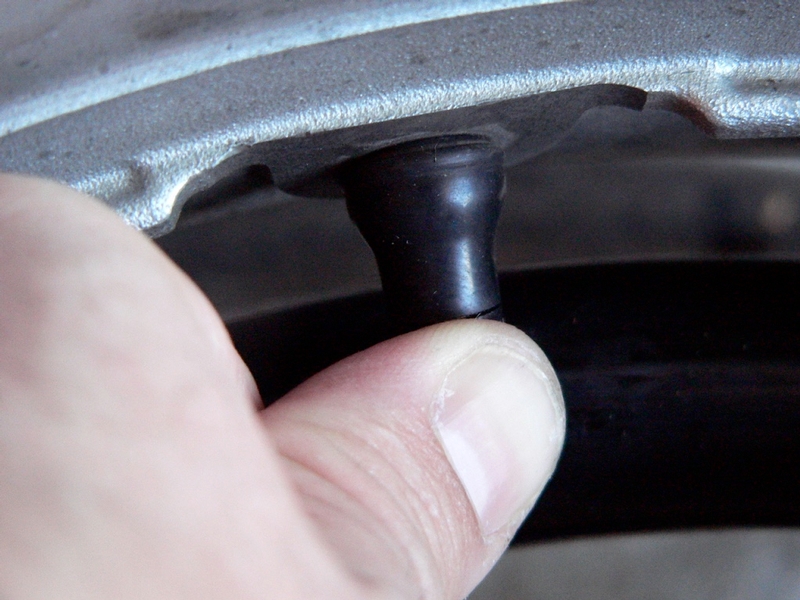
1. Use a pair of side cutters to remove as much of the expanded portion of the valve stem on the exterior of the rim as possible. Cut as near as you can to the rim without scratching the finish. If you press the stem to the side, you can make a cut below the outer portion of the stem and pull it off for easy removal of the inner portion.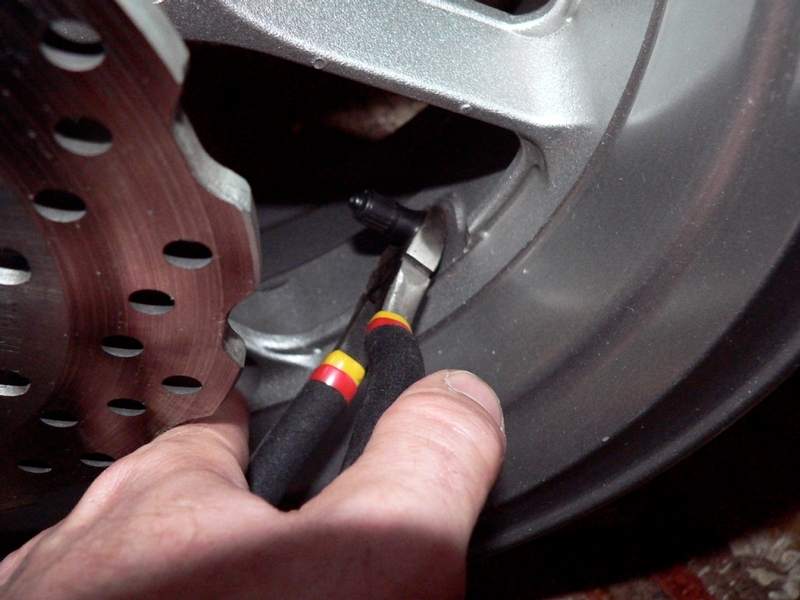
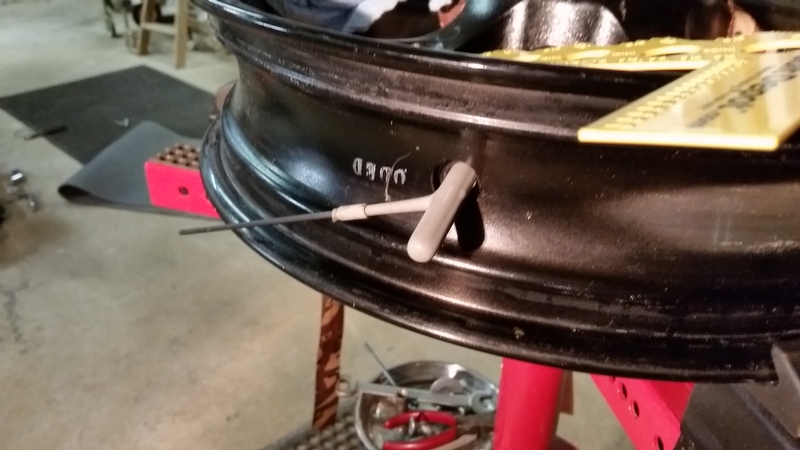
2. Use a bit of silicone lube on the expanded stopper of the valve located at the interior of the rim. Insert a small screwdriver to push the stopper through the rim hole. Push from the outside of the wheel where the valve was cut off to the inside where the stopper is. With the external portion of the valve stem cut off, the valve will pop through the hole.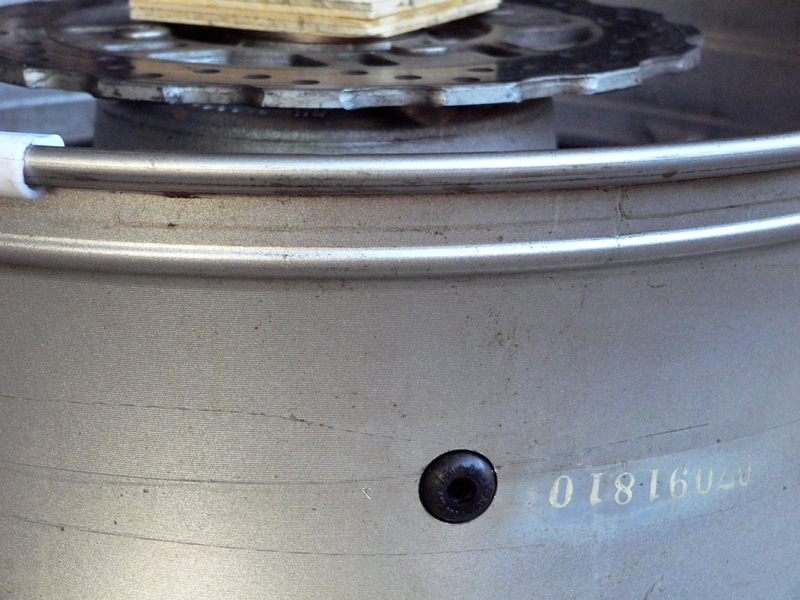
Rubber Valve Installation
3. To install new rubber valves, lube the stopper with silicone lube. With your hand firmly grasping the stem, pop the stopper through the rim from the outside to the inside.
4. Balance the wheel (see Wheel Balance, steps 1-6).
Install the tires to the rims (see Tire Removal and Mount, steps 15-22 and steps 23-40).
Reinstall the wheels to the motorcycle (see Wheels Removal and Installation, steps 10 through 19 and steps 33 through 44).
Use a valve core tool to be sure the valve core is installed snug in the valve stem before the tire is inflated for use.
Installation of 90 Degree Valve Stems
Bridgeport valve stems are a little more complicated but they fit perfectly to the OEM rims.
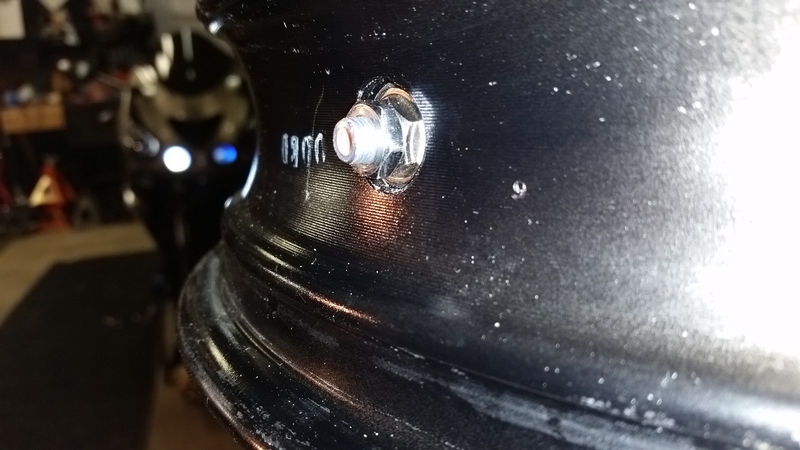
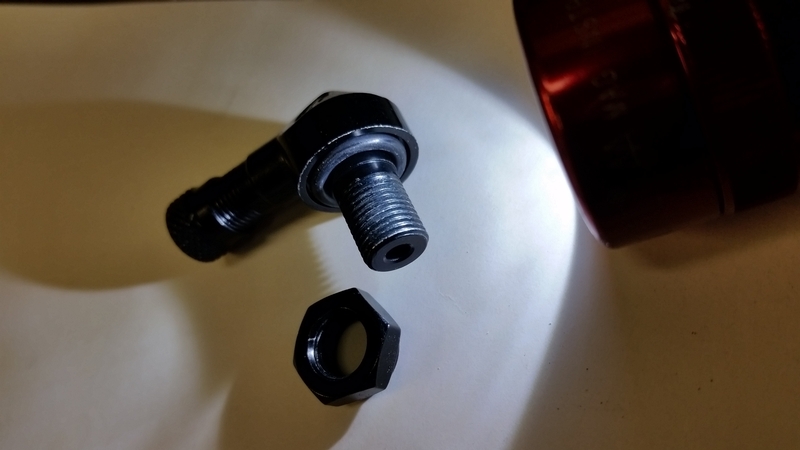
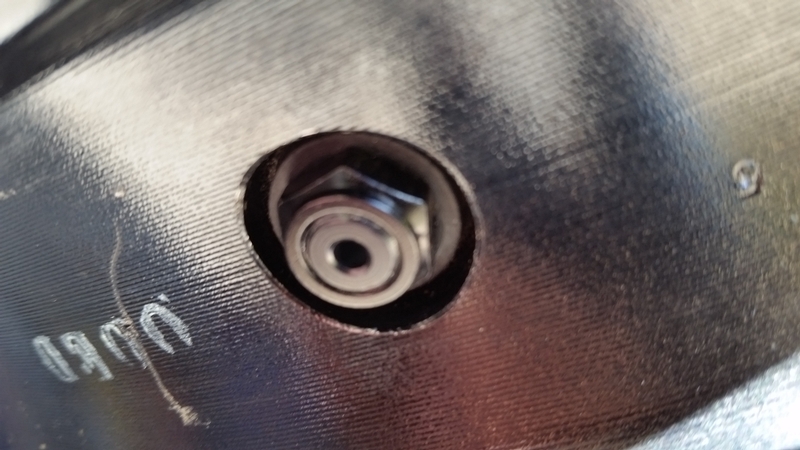
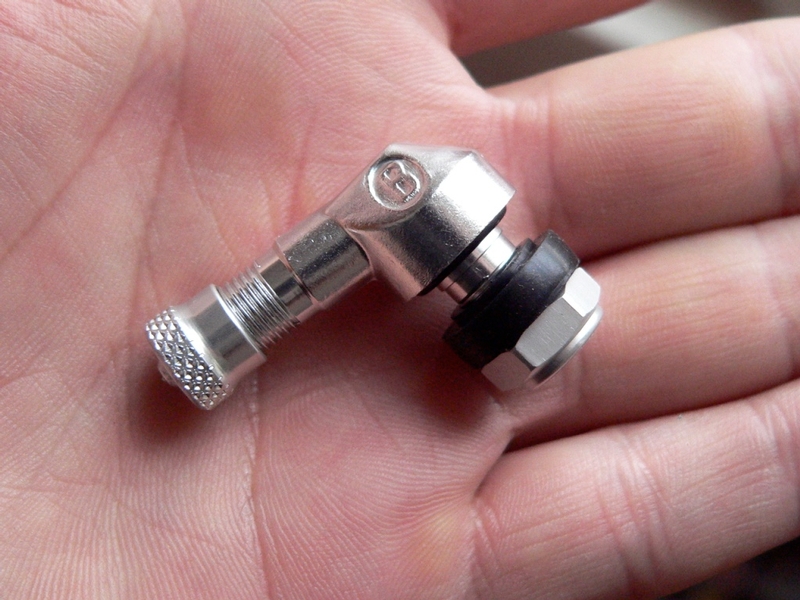
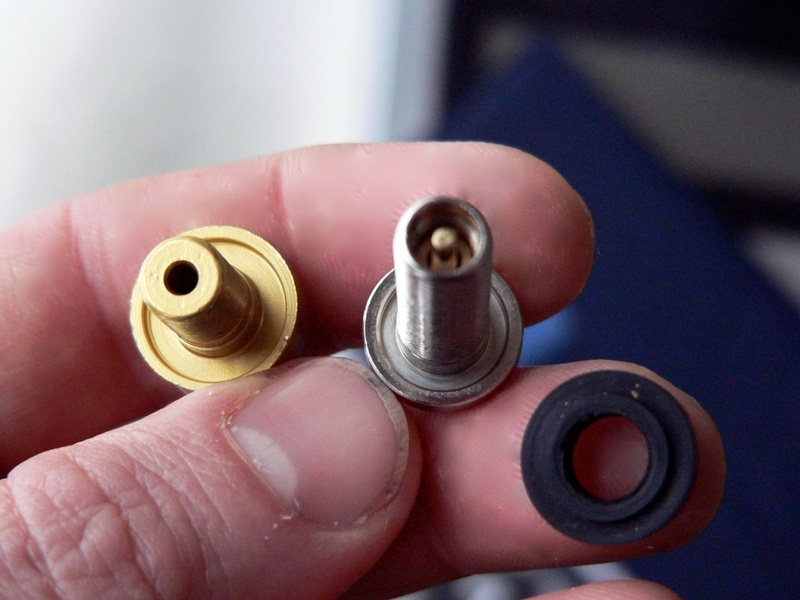
Metal valves such as Bridgeport 90 degree valve stems have a threaded inner stem that inserts through the valve hole in the wheel. They are is fastened with a nut which tightens against the rim on the inside. There is a rubber gasket or oring between the adjoining surfaces of the valve body and the surface of the rim.
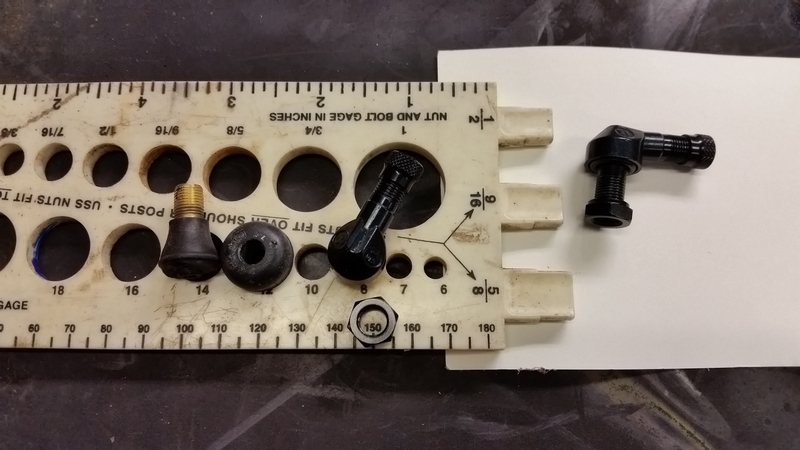
Metal tire valves are available in 8.3mm and 11.3mm sizes (that is the diameter of the valve hole in the wheel, the inner stem OD of the valve is a bit smaller). OEM ZX-14 rims use a valve stem for an 8.3 mm hole but measure to make sure.
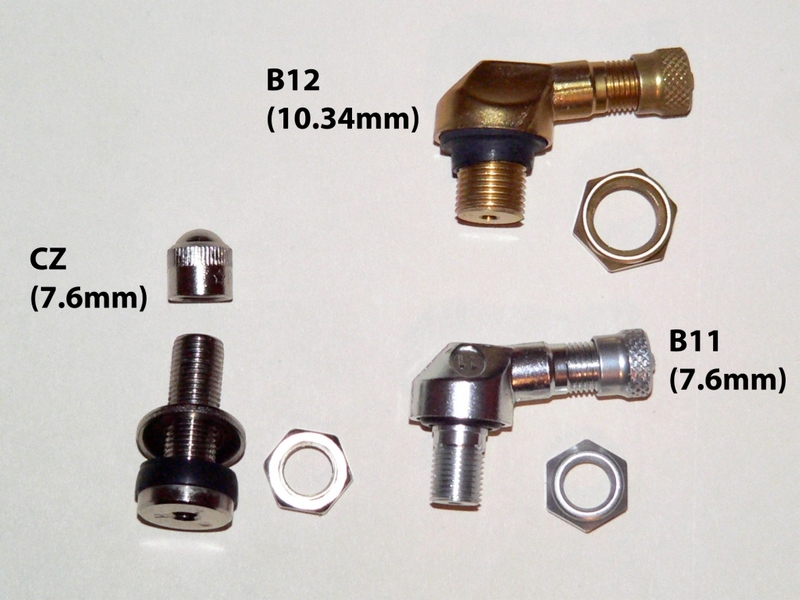
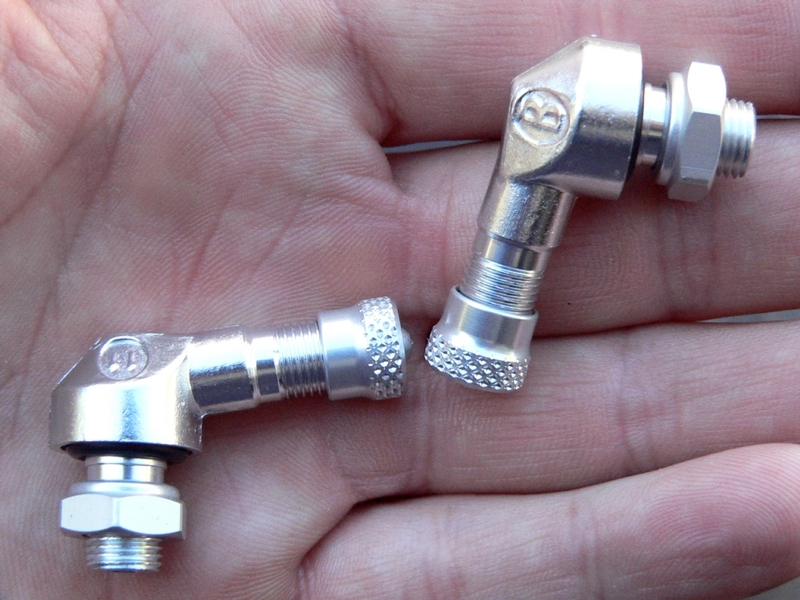
The measurements labeled in the pic above are the O.D. of the inner stem below the valve housing. The Bridgeport B11 fits in an 8.3 mm hole, the correct size for OEM ZX-14 rims. The CZ valve is configured differently but it will also fit the ZX-14 rim or any other rim with an 8.3 mm hole. The B12 is for an 11.3 mm hole.
The two sizes of Bridgeport 90 degree valves stems, 11.3 mm on the left and 8.3 mm on the right. I think there is some disagreement on the correct size but 8.3 mm fit my ZX-14 OEM rim. Measure before you order.
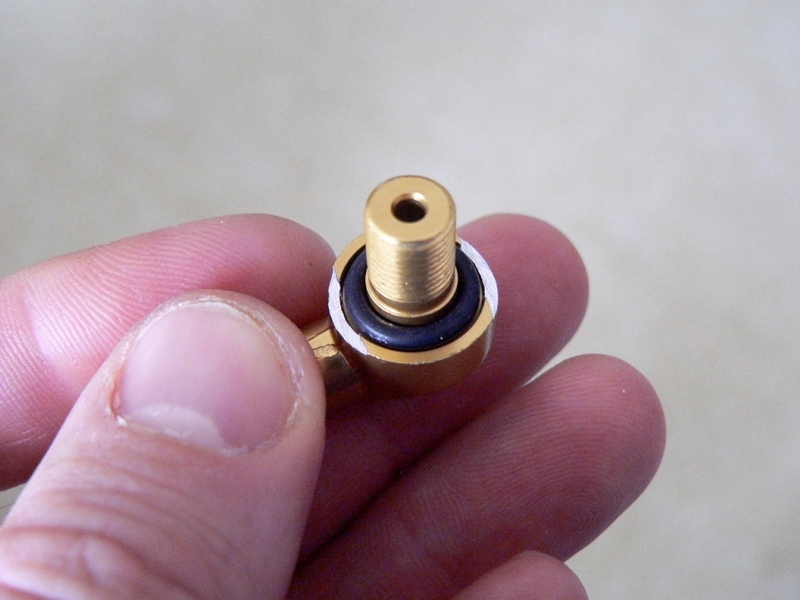
There is an oring in the bottom of the valve base which seals against the rim.
I considered using a rubber gasket to seal from within in addition to the o-ring on the outside of the rim. A washer between the nut and the grommet would be one more step to take to ensure a tight seal. I decided the gasket was an unnecessary addition since the Bridgeports fit so well to the OEM rims. I installed the Brigeports as they were designed and the oring alone seals just fine.
Tools:
90 degree valves
nonpermanent locking agent
12mm socket
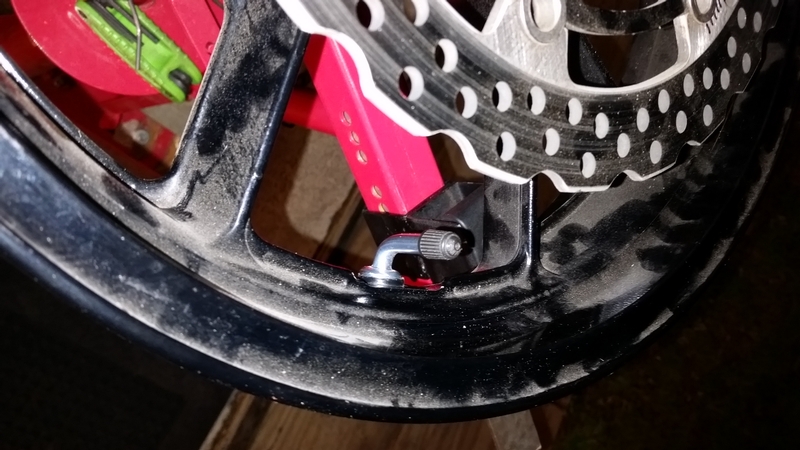
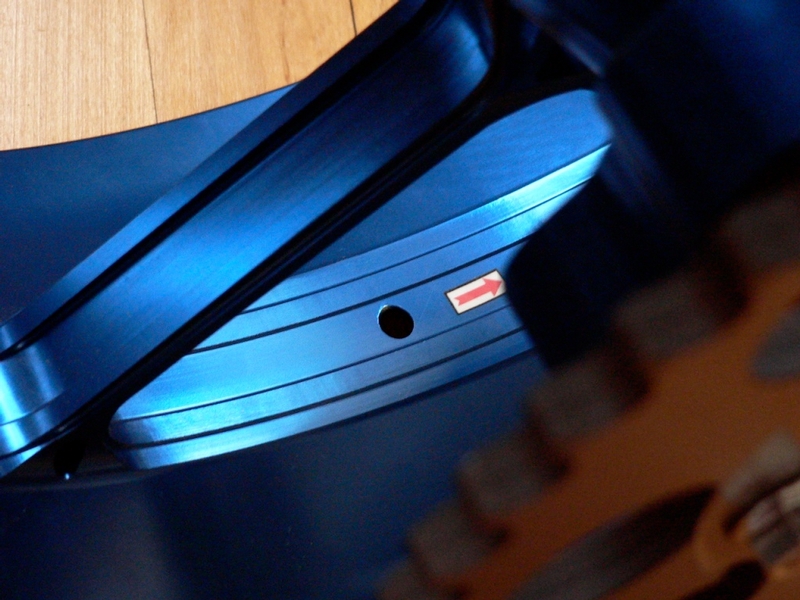
5. Place the inner stem of the 90 degree valve through the valve hole in the rim. Make sure the outer valve stem is pointing in the direction you want it. Usually it is preferred to have angled valve stems point to the right so that they will be accessible when the bike is on its side stand.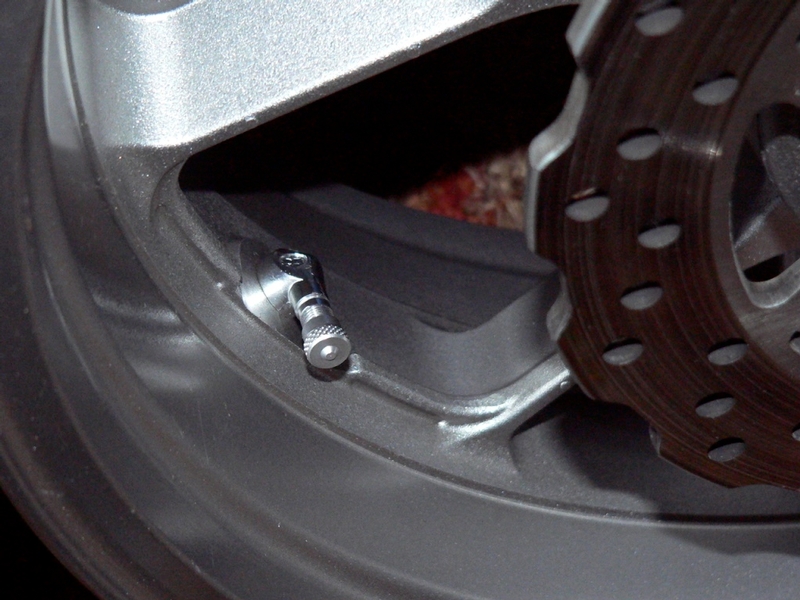
6. Apply nonpermanent locking agent to the threads of the inner stem. Thread the nut onto the stem.
There is a shoulder on the nut that seems like it may be meant to keep the valve centered in the hole. I chose to turn the shoulder away from the the rim and it still seals and functions well.
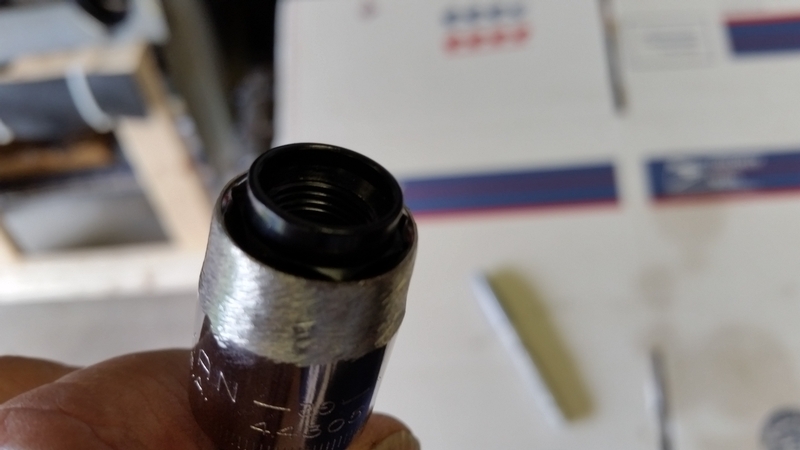
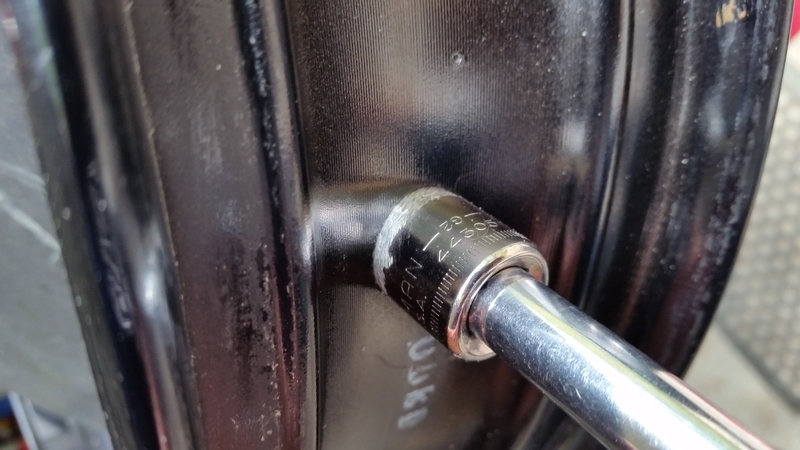
7. Use a 12mm socket to snug up the nut. As long as the nut is snug, the oring is compressed and the base is contacting the rim on the outside, there is no reason to tighten any more. DO NOT tighten it more than snug, aluminum threads will strip or stretch easily.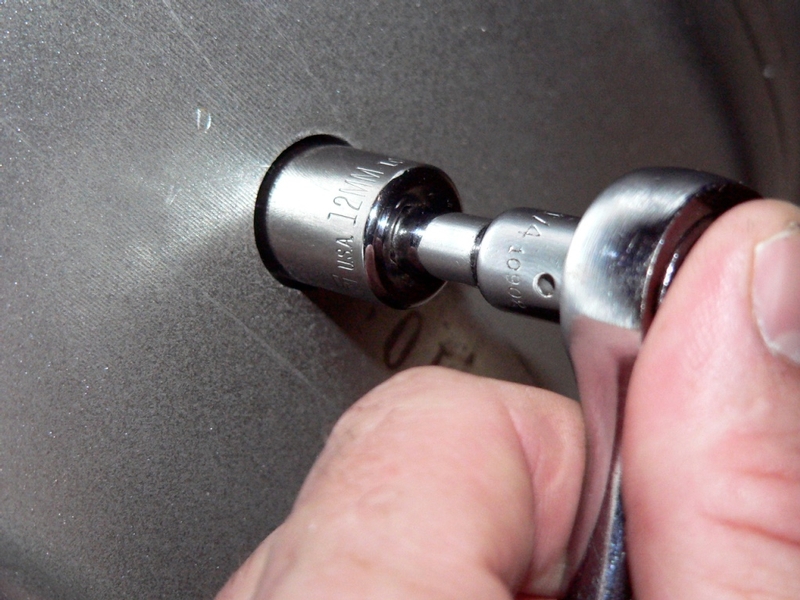
8. Balance the wheel (see Wheel Balance, steps 1 through 4)and install the wheels to the bike (see Wheel Removal steps 13-25 and steps 40-53).
Weights
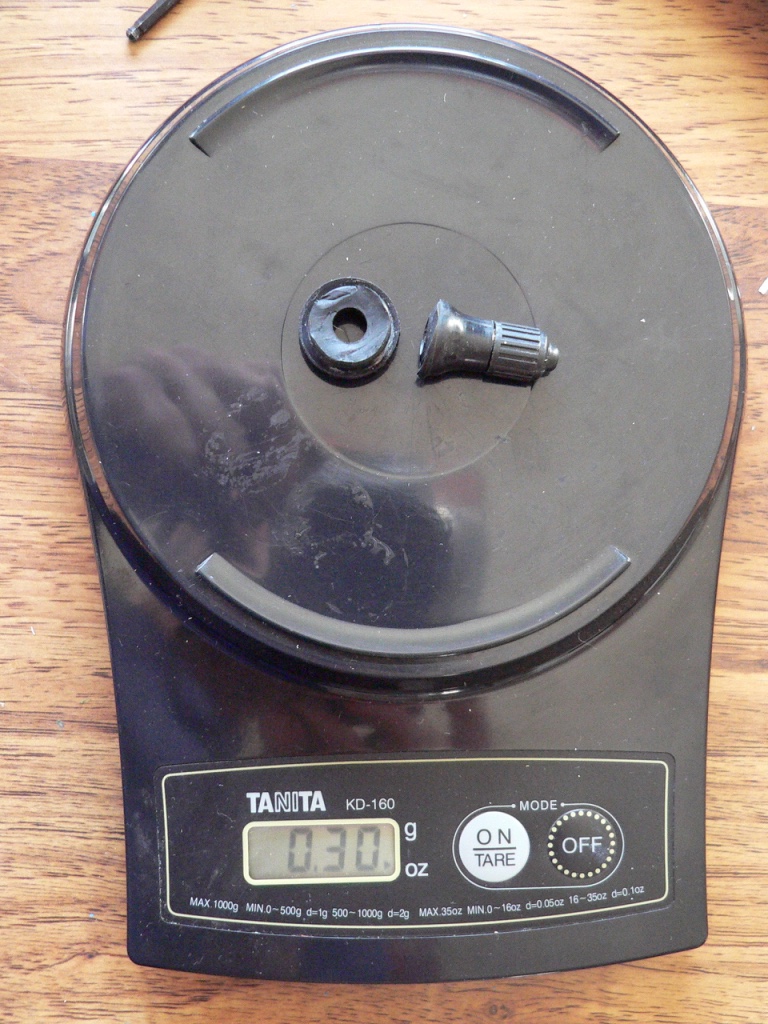
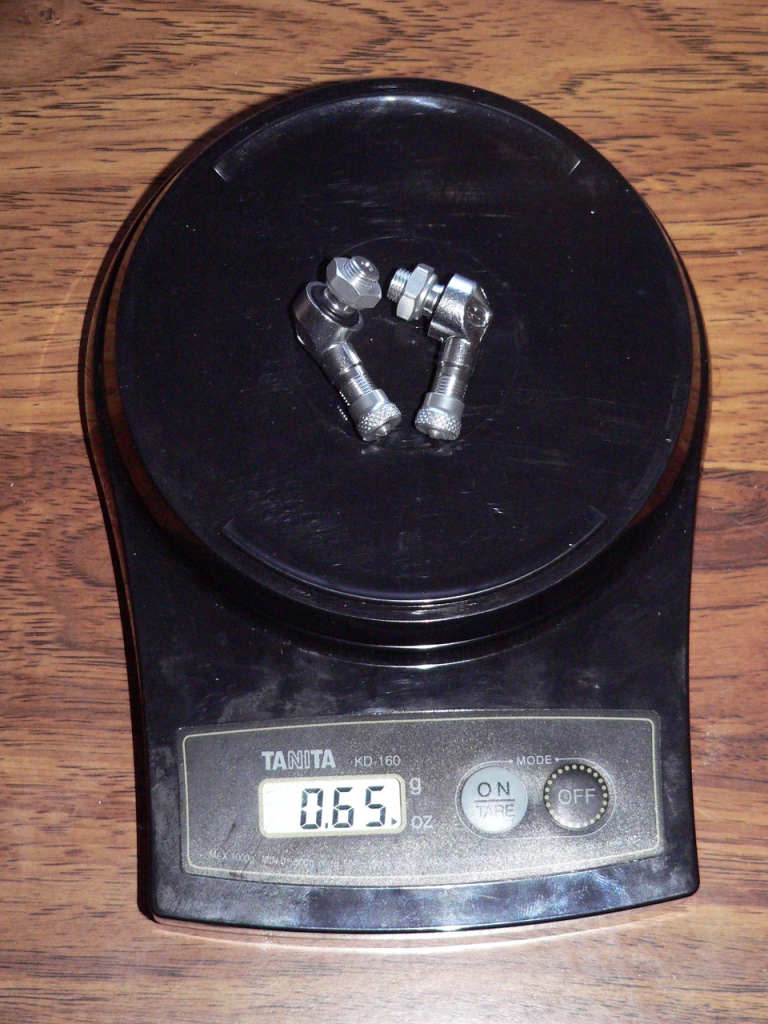
Switching to Bridgeport 90 degree valve stems on both the front and rear wheel results in a weight gain of .05 oz.
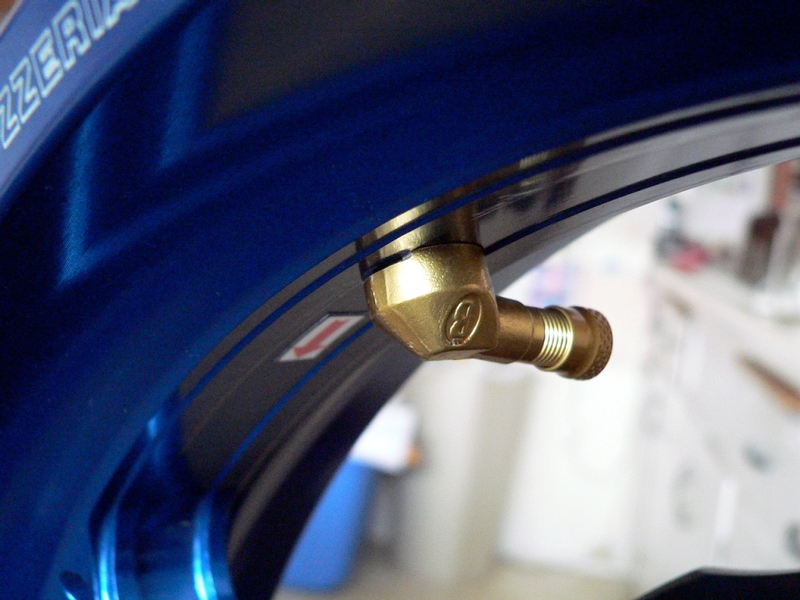
Bridgeport 90 Degree Valve Stems Installed to Carrazzeria Wheels
Tools:
All tools listed above plus:
17/64”x5/8” grommets
razor knife
fine sandpaper
Sculpy, firm
Dremmel
Dremmel drill press
2” x 5/8” x 20” strip of wood
two C clamps
tape
carbide Dremmel bit with parallel sides.
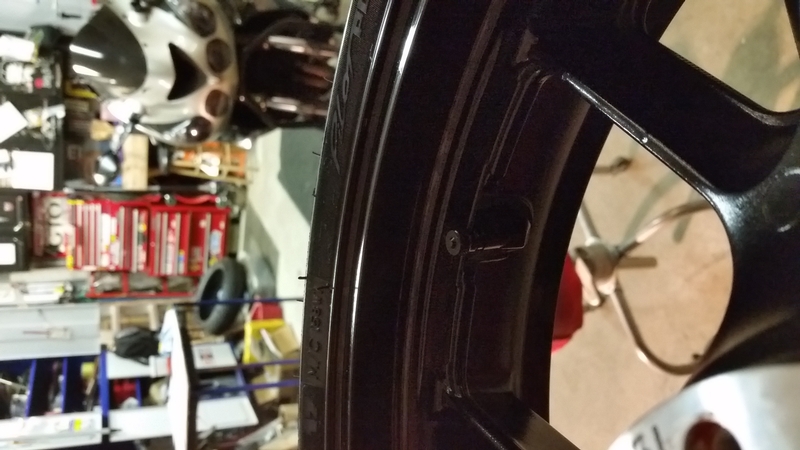
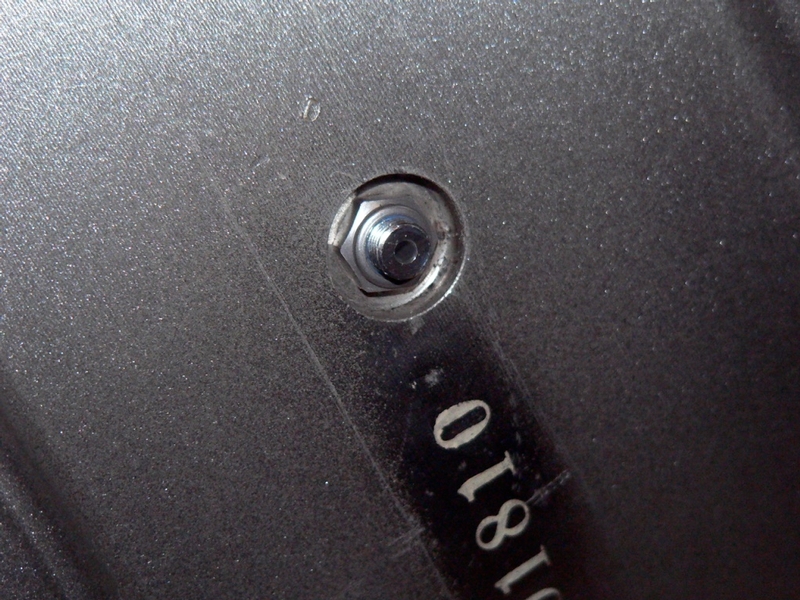
This was a bit tricky. The Bridgeport valves install the same to my Carrazzeria rims as they do to my OEM rims but the Carrazzerias have two ribs around the center of the rim where the valve goes. The ribs raise the base of the valve off of the surface of the rim which would probably not permit the oring to compress and seal the valve.
You can see the raised rib to either side of the valve hole. The Bridgeport valve base cannot be tightened against a flat space so it would probably leak.
Here’s the email response I got from CZ USA concerning my question about how to fit Bridgeport valves to my CZ rims.
Hello Daron, Our valve stems are 8.3mm, same as most aftermarket wheels - the ones you list as B11. Our wheels have a channel on the outside of the wheel that usually does not allow 90 deg stems to sit flush on the outside where they seal. As you can see our valve stems seal on the inside (air is pushing to seal not pushing out to un-seal) so what you can do to make the 90deg work properly is to remove the rubber grommet of our supplied valve stem and install it on the B11 so it is sealing from the inside. You can leave the grommet that comes with the B11 installed.
Let me know if you have any more question.
Thanks
CARROZZERIA USA INC
950 Dovlen pl. suite C
Carson, Ca 90746
(310) 719-2271 - FAX (310) 719-2272
www.forged-wheel.com
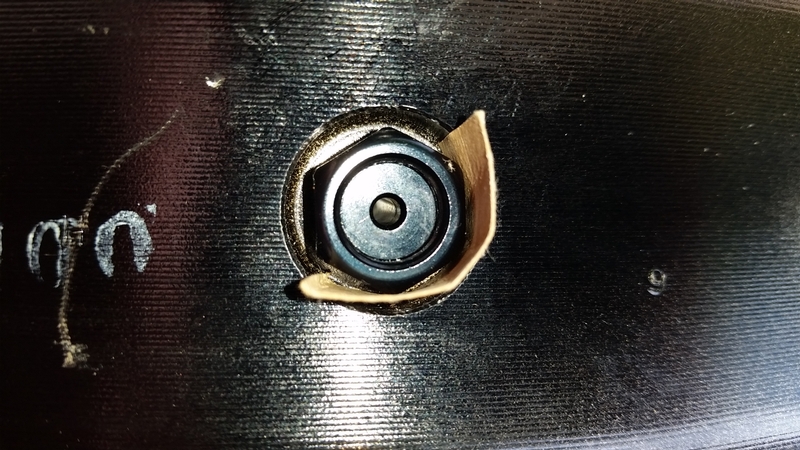
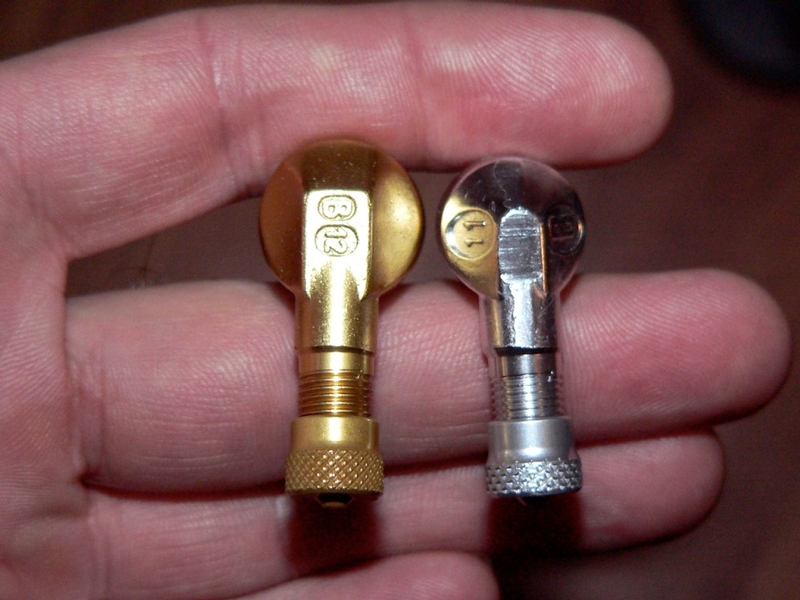
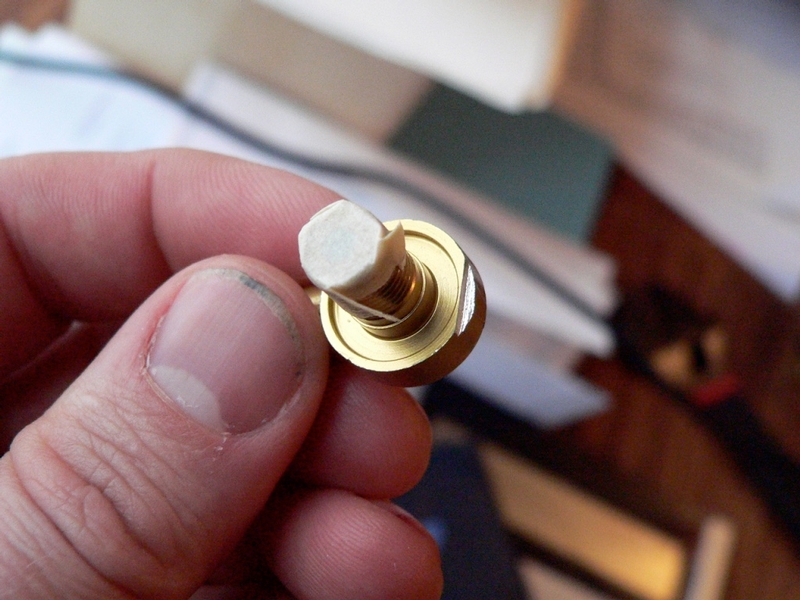
This picture shows the CZ valve grommet and the CZ valve next to the Bridgeport inner valve stem.
Using the grommet from the valve that comes on the Carrazzeria wheel would seal the Bridgeport valve from the inside however, the base of the bridgeport valve would still be sitting atop the two ribs on the CZ rim. It bothered me that the Bridgeport valves did not quite fit. The solution was to machine a flat spot on each rim or machine the base of the Bridgeport valves. I chose to mod the valves.
9. These 17/64”x5/8” grommets are available at Home Depot. 
Chop one grommet in half with a razor knife. Then sand the middle diameter as flat as possible with fine sandpaper.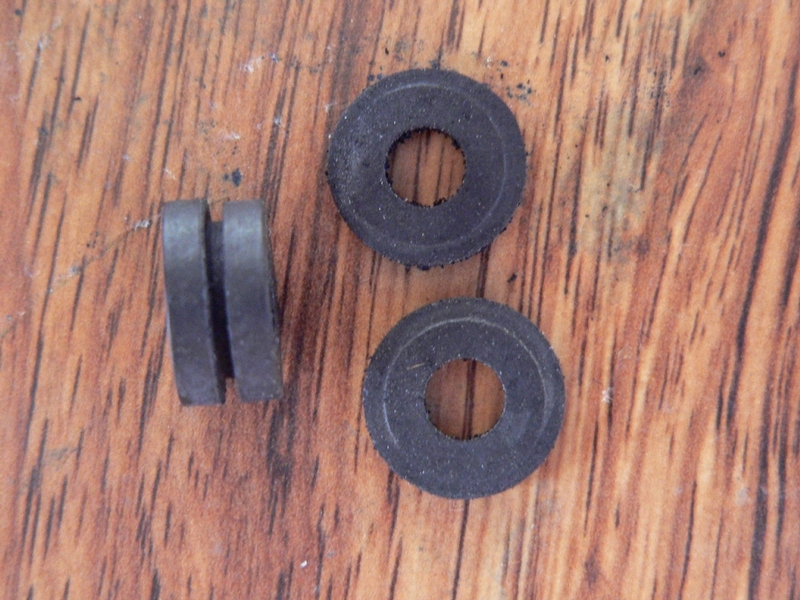
10. Make a slide to hold the Bridgeport valve securely. A good product to use for making the slide is an art sculpting material called Sculpy. Sculpy molds like plastiline clay and cures to a hard plastic substance in a conventional oven. The firmest grade of Sculpy works well for forming precise, small, geometric shapes like this.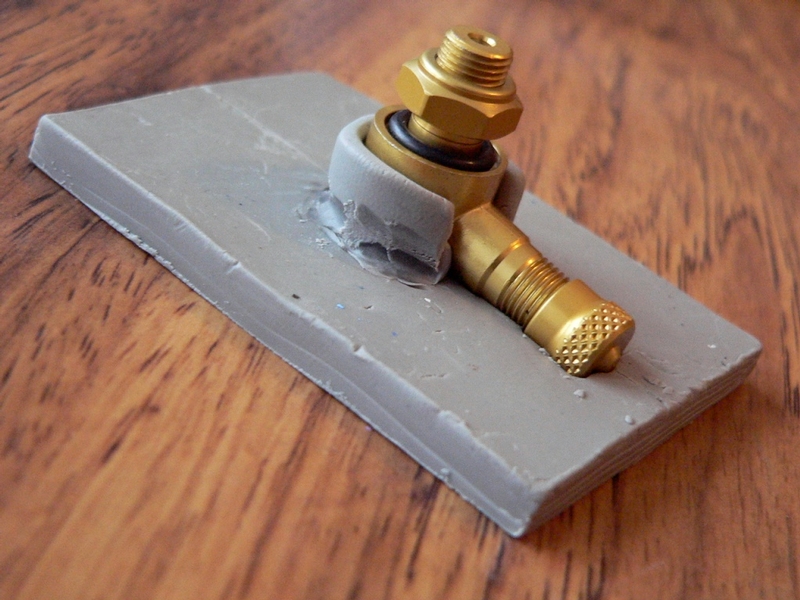
11. Remove the nut and oring from the Bridgeport valve before it is ground with the Dremmel.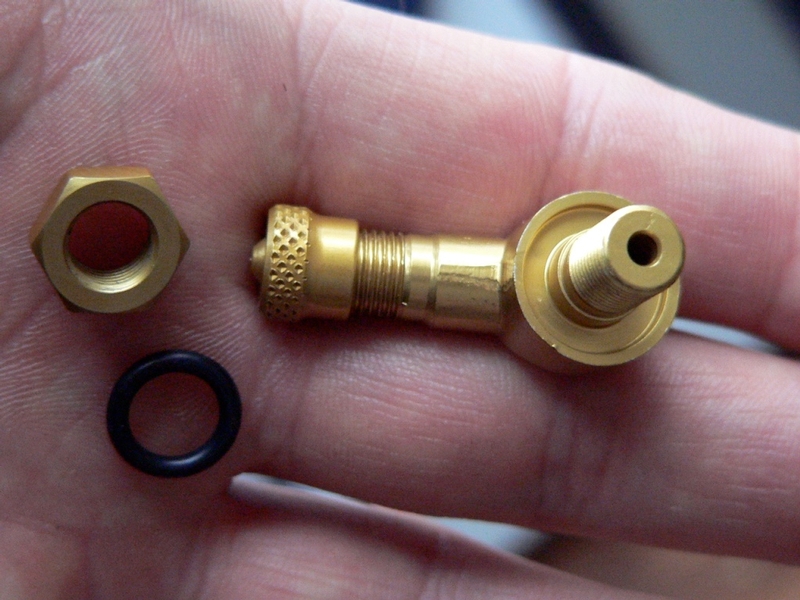
Tape the hole in the inner valve stem to prevent dust from entering the valve.
Set up the Dremmel in a Dremmel drill press and use a fence made of a 2” x 5/8” x 20” strip of wood and two C clamps. Use a carbide bit with parallel sides.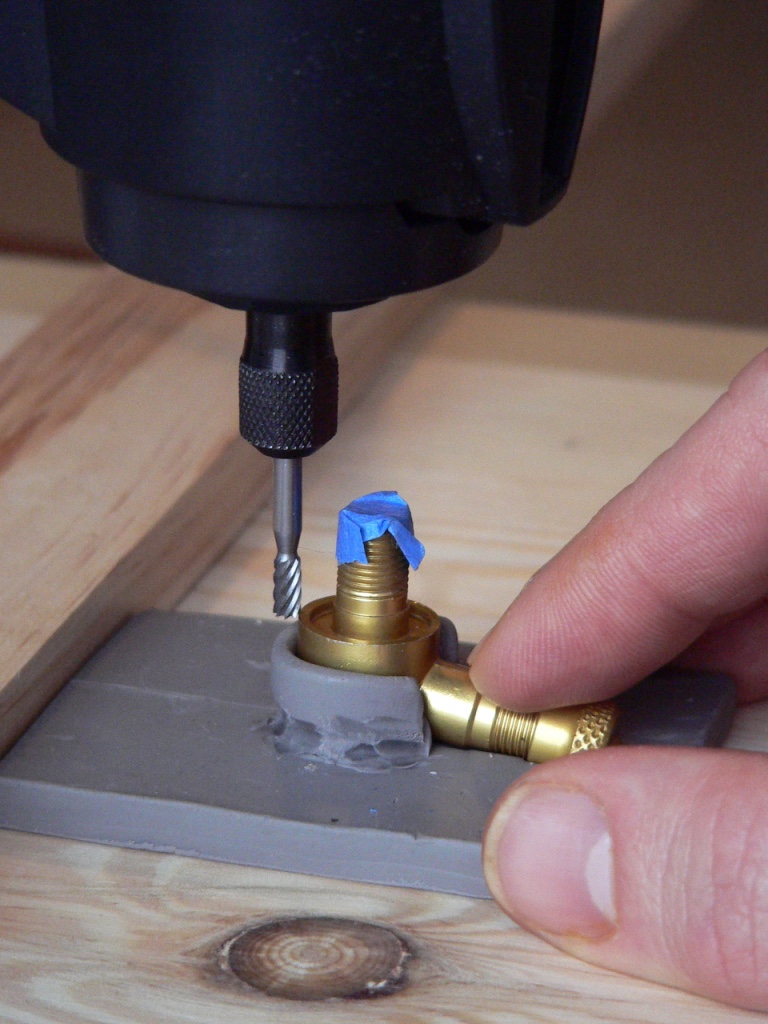
It’s hard to adjust the bit to the right hight initially. I went for a shallow cut to test the depth and then adjusted the slide UP by applying masking tape on the underside, one thickness at a time until the cut was the right depth to match up with the ribs on the CZ rim.
12. The fence is used to slide the valve at a constant distance from the bit. Slide the valve over the bit. Be very careful the first pass. You cannot take off much at a time. You are removing much less than the thickness of a paper with each pass. You should aim to just barely touch the valve to the bit. Mark where the fence is set with a pencil and move the fence in just a hair (literally, almost imperceptible) when needed.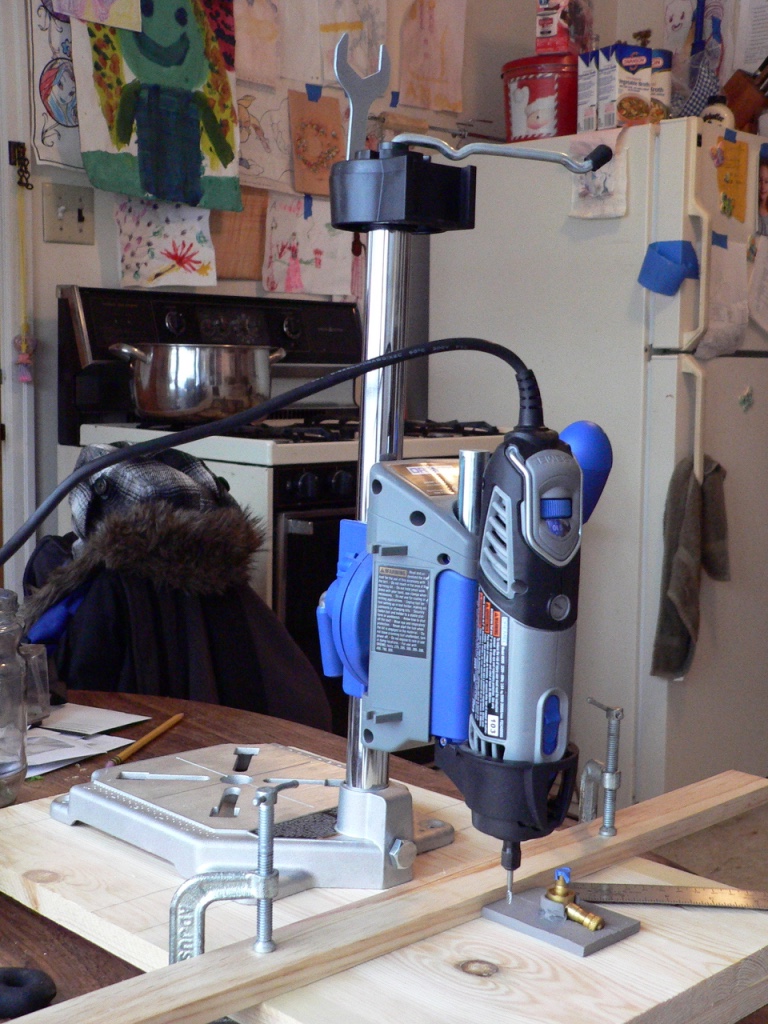
All you need to do is hear the tone of the high speed grinding as the piece passes the bit. If you can feel the bit grinding, you are taking off to much. When using a high speed tool like a Dremmel the piece will probably fly out of you fingers if you cut too deep.
The valve base needed to be ground on only one side to fit against the rear wheel.
The front valve base required grinding on both sides of the base and actually needed to be ground right through the base to fit over the double ribs on the rim. I was not sure if the oring would still seal without the entire inner circumference of the base to compress against it.
13. Install each Bridgeport valve with a rubber grommet on the inside to be certain the valves seal. Use blue locktite and tightened the nut snug against the grommet.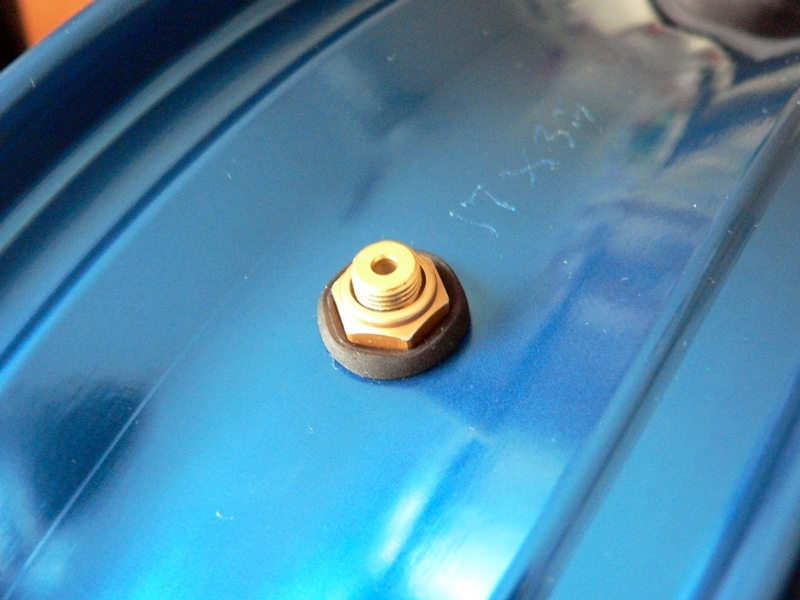
Both front and rear valves will fit nicely and hold air.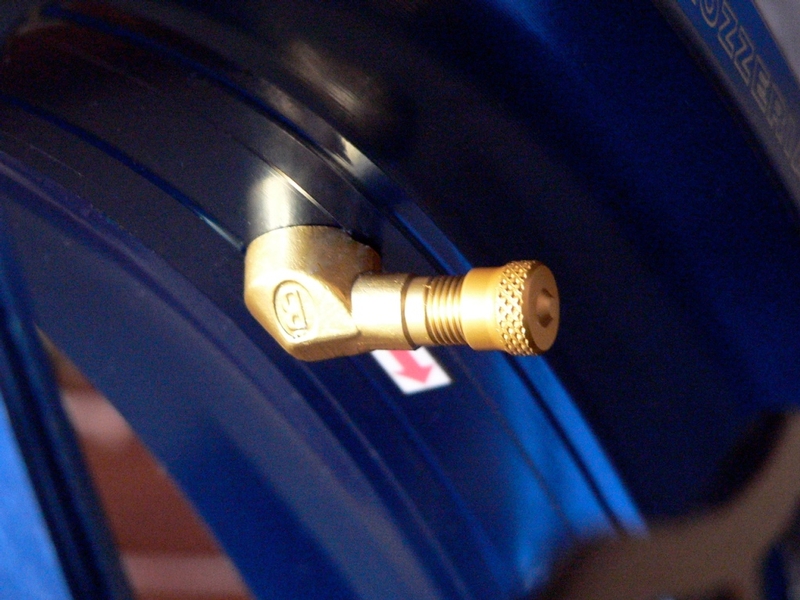
* Last updated by: Rook on 3/19/2018 @ 2:29 PM *