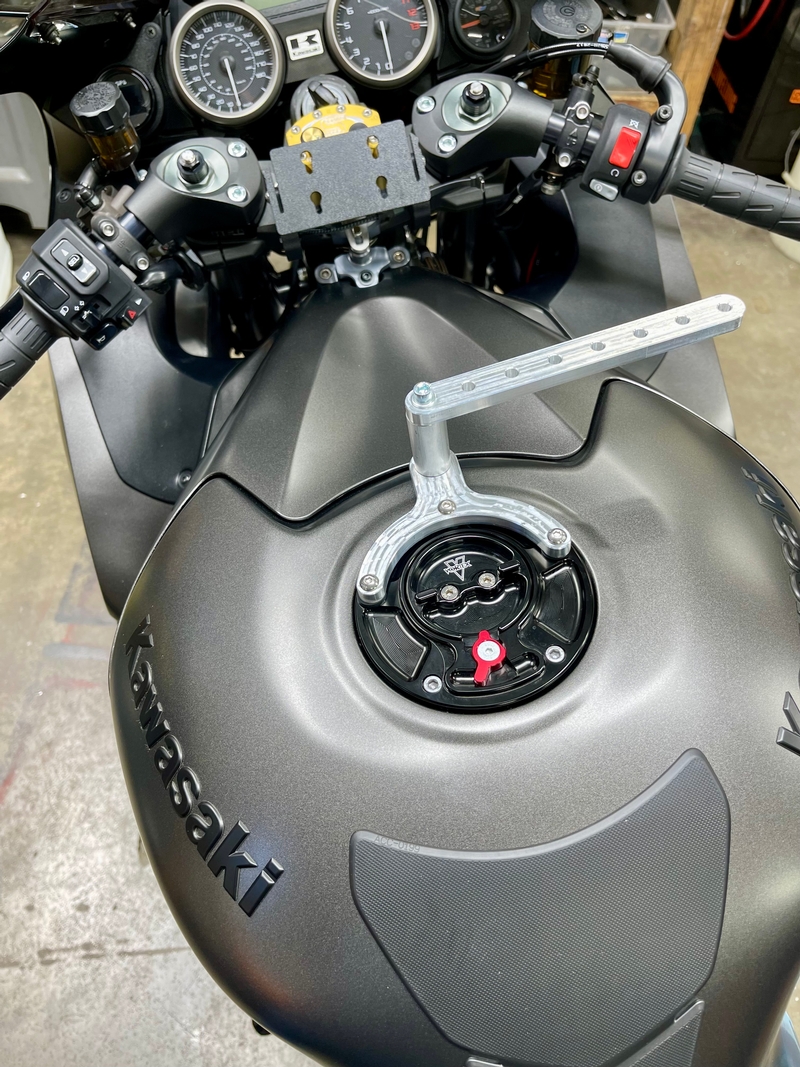
• Designed, machined, and installed a tank mount GoPro mount.
• Designed, printed and installed a new co2 tank aero attachment. I think this is the fourth one now.
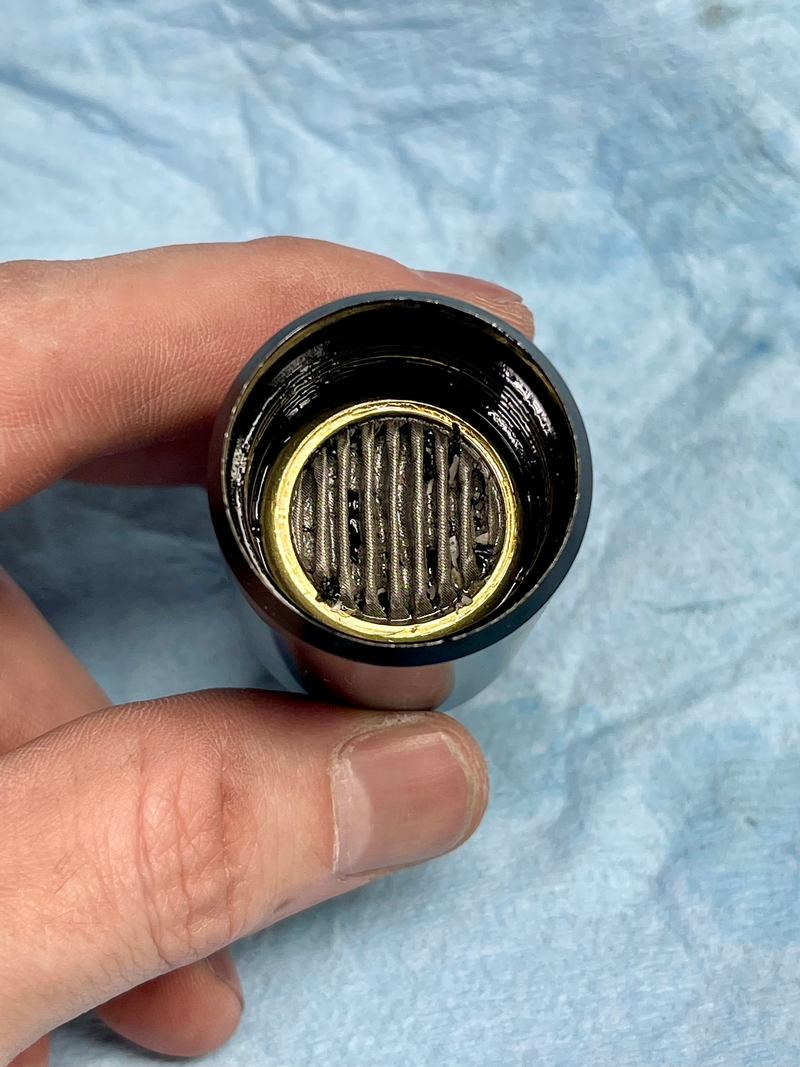
• Cleaned the fuel filter.
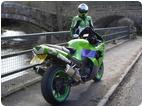
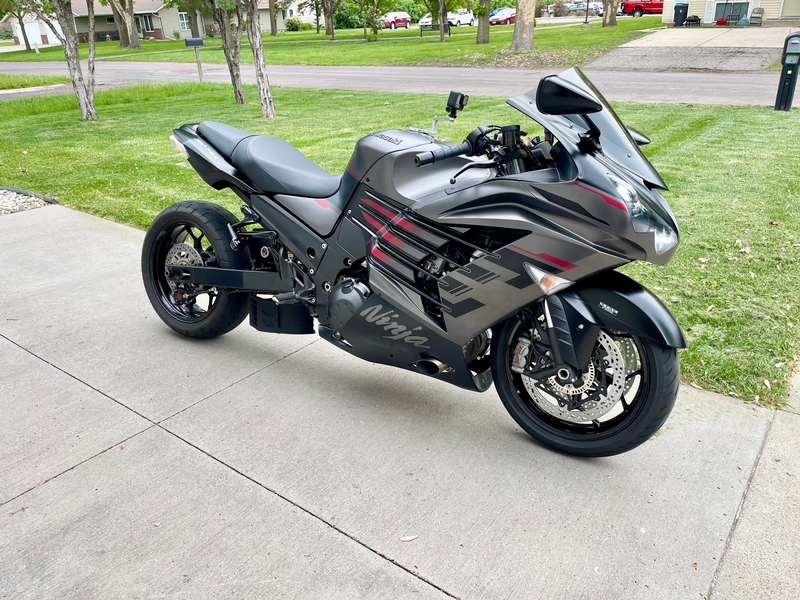
• Installed a zero gravity wind screen.
• Designed, machined and installed a shift lever assembly.
• Designed and installed a new tail tidy kit.
• Installed a new radiator with new fans.
• Installed a softer spring in the rear shock.
• Installed a 41 tooth rear sprocket.
• Installed APE trac king clutch plates.
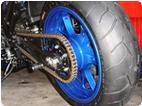
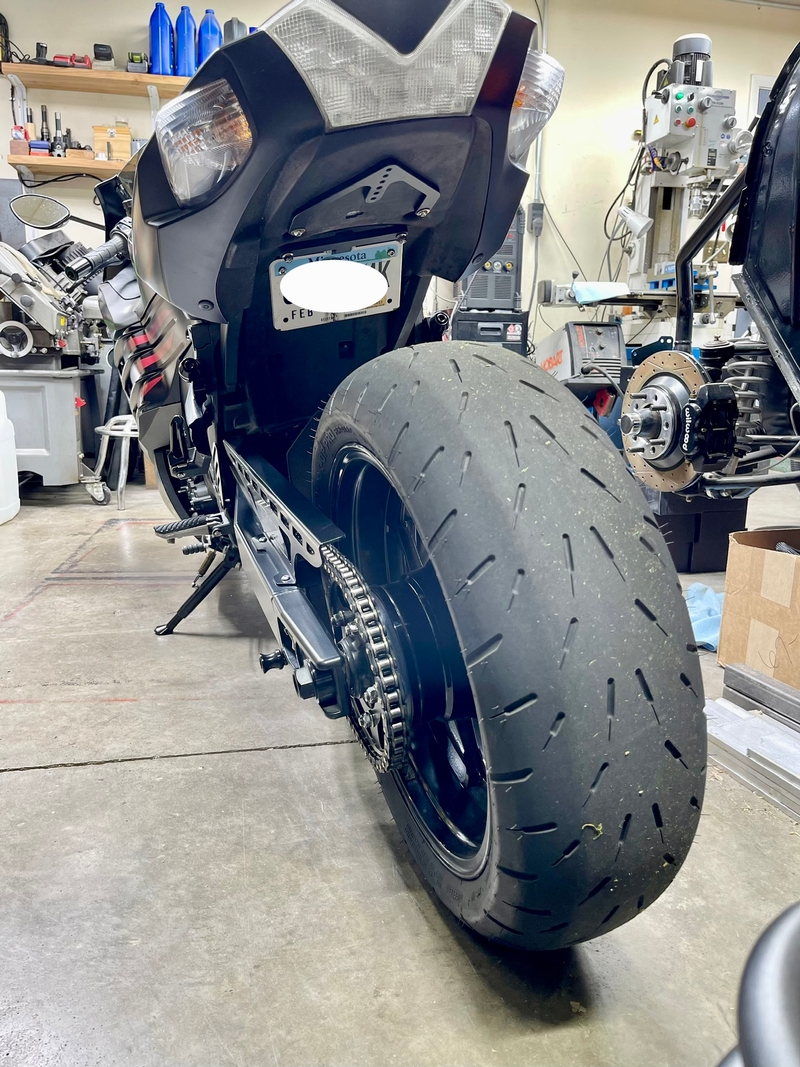
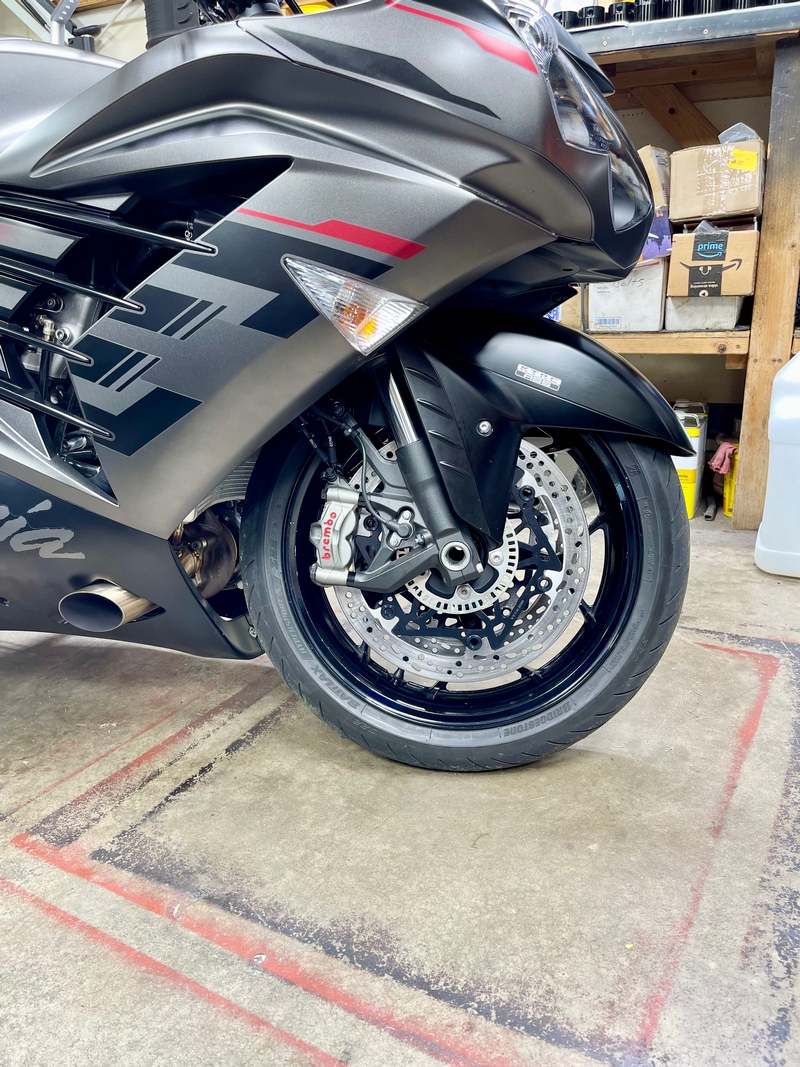
• Installed brake tech 330mm rotors.
• Installed titanium brake caliper bolts.
• Installed black anodized aluminum caliper spacers.
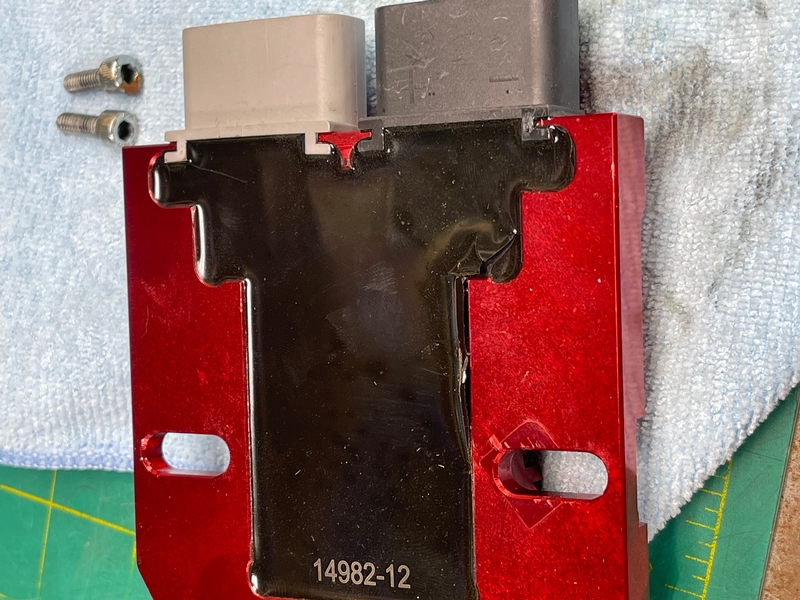
• Installed ricks voltage regulator as the other one died.
The last week has been insane. I’ve been dealing with some quality issues on a large order of parts which has been a nightmare. Then the voltage regulator died on me and I didn’t notice it until the battery light came on. At that point it was too late as the voltage was down to 10 volts. I made it about 5 blocks before the bike died. Surprisingly it ran all the way down to 7 volts! Ended up getting a ride home from a friend, grabbed the truck, loaded it up and hauled it home. The voltage regulator died and the potting/epoxy on the back cracked and expanded so it was pretty obvious what the problem was. I swapped the stator out as well for now just to be safe. I’ll test it and put a new connector and terminals on it and throw it back in at some point. I also cut the plug off the OEM stator harness that goes from the side of the fuel tank to the regulator and extended it so I can swap stators without removing the fuel tank.
I got really tired of the warped brake rotor so I called brake tech and got them to put a 330mm rotor kit together for me. It turns out the 330mm kits are all they had in stock for the zx14. The kit comes with plain bolts and spacers which really stand out and look like crap so I ordered some black anodized aluminum spacers and black titanium bolts for the calipers.
The GoPro mount I made swivels so you can move the camera to the side which allows you to be able to tuck down without hitting the camera. I had a similar setup on my last zx14.
I wanted a little more wind protection so I installed a little taller zero gravity wind screen. I was a little disappointed with the surface quality of the windscreen. It had a bunch of micro scratches in it and it wasn’t nice and clear. Really bugged me! So I sat there and polished it with some plastic polish for a hour and got it looking pretty good.
I ordered a 39 tooth sprocket which I suspected would possibly require shortening the chain when I ordered it and sure enough it did, so I ordered a 41 tooth sprocket to try before I commit to shortening the chain. I also ordered a new master link so I’m ready if I do decide to shorten it.
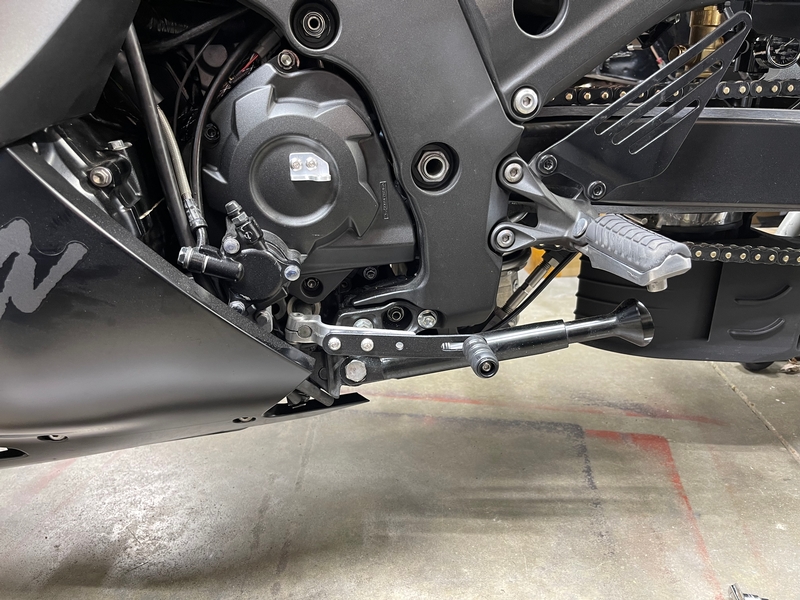
When I ride I wear my steel toe work boots which have a defined heel. Well that forces my foot to sit back a little ways and makes it hard to get a good position on the shifter toe peg so I made a new shifter assembly which has some up and down adjustment as well as front to back adjustment for the toe peg. So far it’s been working good and has made shifting a lot easier.
The MTC clutch plates/steels have been pissing me off. For some reason if the bike has sat for a day or so when I go to put it in gear for the first time it will kill the engine even with the clutch lever pulled in. I could get around it if I revved the engine up but I don’t always remember. Well the other day the neighbor had a big party and I went to take off, killed it and looked like an idiot. That was it! After that I ordered the ape clutch plates/steels.
I installed the new radiator which came with a new set of OEM fans so I decided to just leave the OEM fans on it for now and see how they work. I have a couple of the Schnitz fans but I didn’t want to deal with trying to install them and rewire them so I decided to leave the OEM fans on it for now. So far it seems to be working good. I let it run in the garage for 10-15 minutes and the fans would bring the temp down to 180 repeatedly. With the old radiator it would get well into the 200’s. We will see how it does when we get some warmer weather here.
I finally had a chance to go for a short ride today before it rained again. The new clutch works great. It feels a lot like the MTC clutch and seems to be similar in the way it engages. The brakes no longer pulse when I use them so that’s awesome. I haven’t had a chance to go properly bed them in so I haven’t hammered on them to hard yet. The rear spring is better but it’s a little stiff yet. I will pull some preload off it and see if that helps. The shifter works much better for me. I need to make some small adjustments with the tune yet. When I shift unless I’m beating on the bike I just let of the throttle to shift and don’t use the clutch. Well right now it goes pretty rich and stumbles a little bit when I let off to shift. It’s pretty minor but it’s bugging me. I made some adjustments today which helped but it’s not quite perfect yet.
* Last updated by: bryan468 on 5/24/2026 @ 10:47 PM *
Bamperformance.Us@gmail.com
507-571-2777